Serbia Trip Report June 2023

Serbia Trip Report June 2023

Due to the pandemic, the last time I used these hides in Serbia was in 2019 so I was eager to get back. It was a wonderful feeling to be back here again and I can honestly say the hides were as good as ever – in fact, this year I’d say they delivered some of the best opportunities I’ve ever seen. I met my 3 clients, Mike, Karen and Ray at Belgrade Airport before taking our transfer north to Vojvodina.

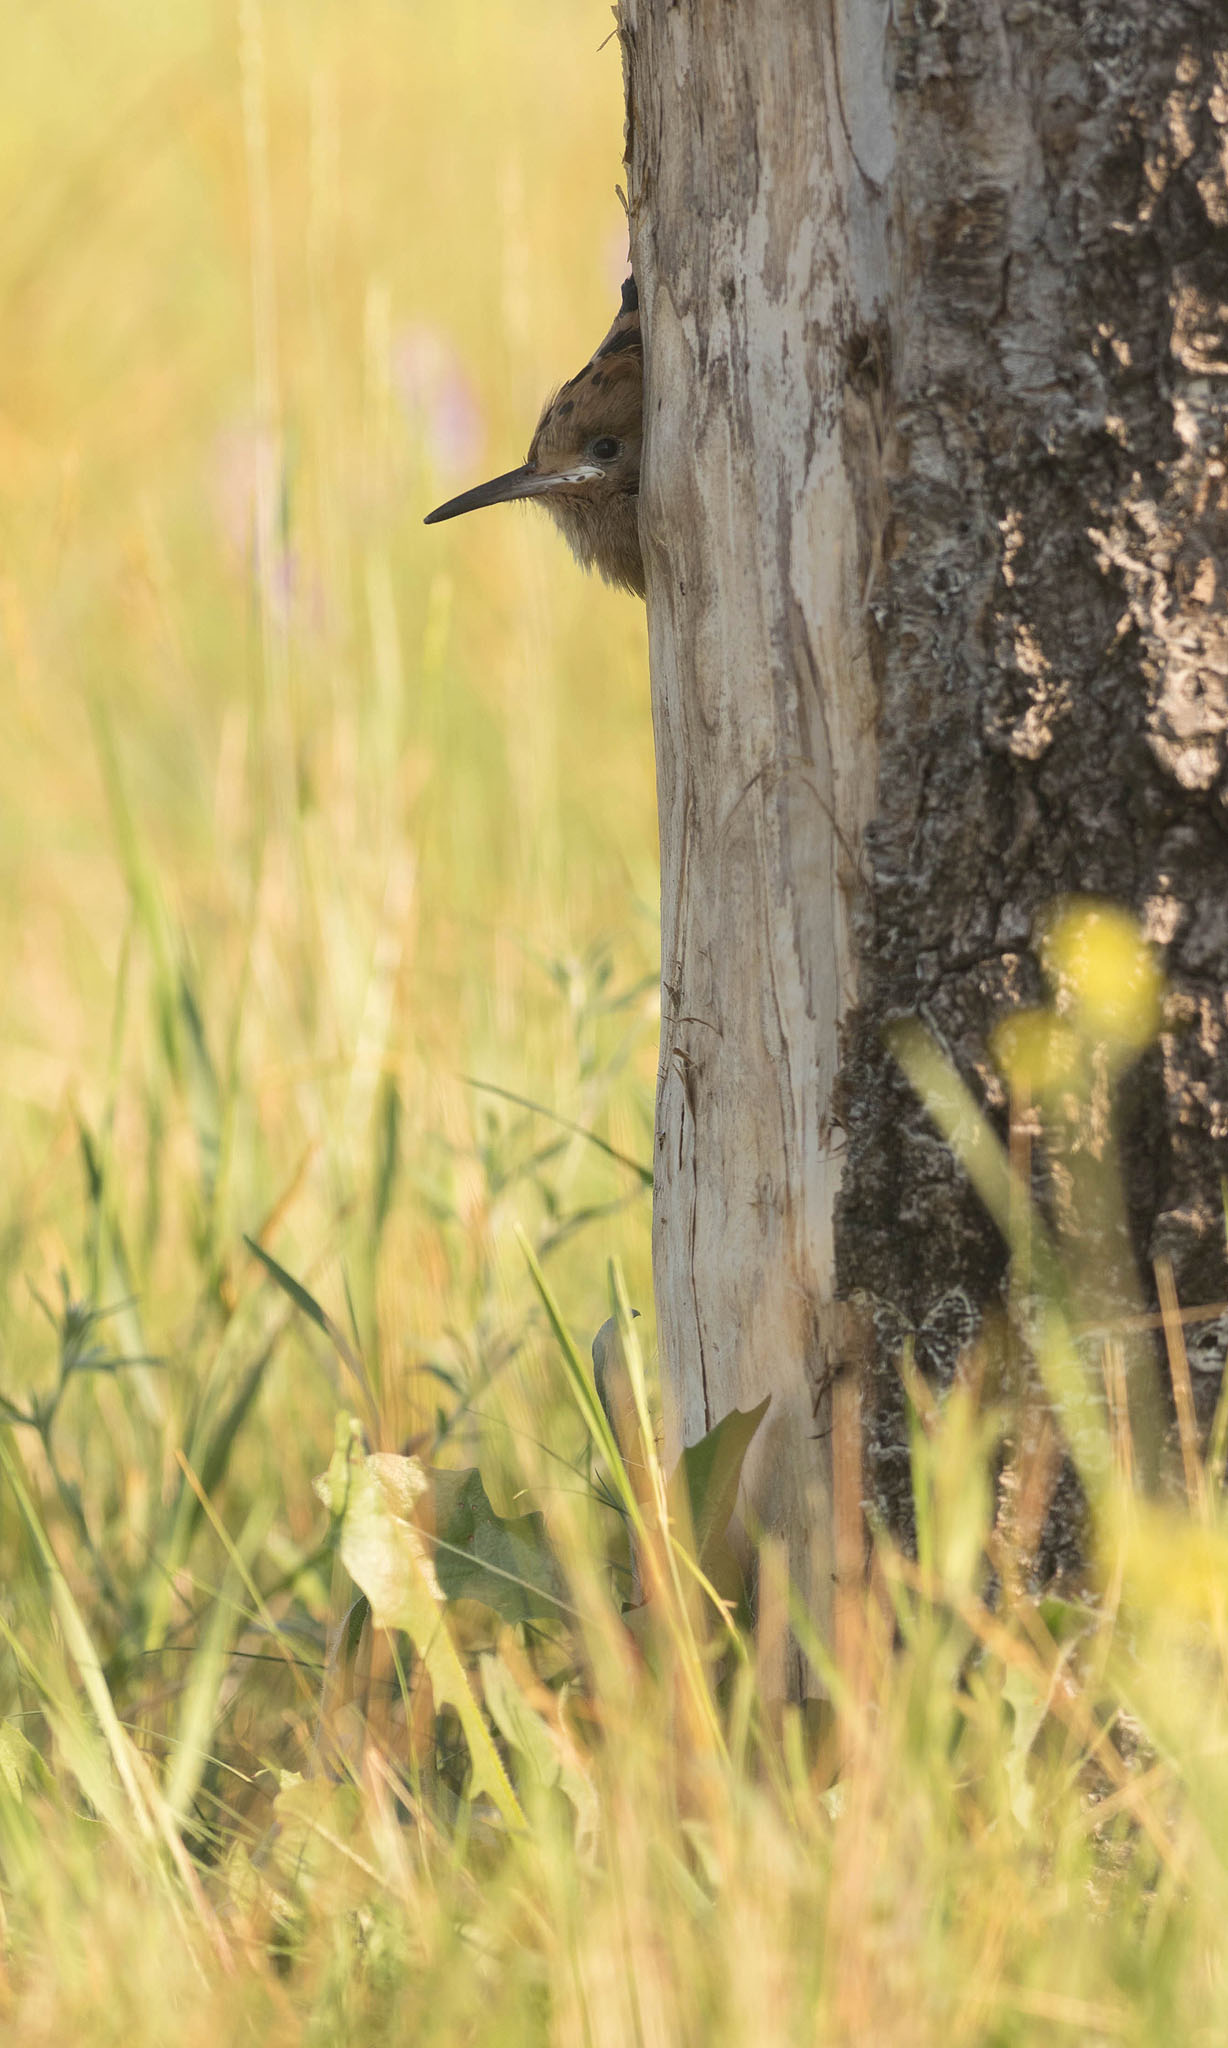
The next morning we had our first photo session – a beautiful setting for Hoopoe. Both parents were bringing food back to the chicks – my clients worked largely on capturing flight shots whilst I concentrated on video. We also got images of the youngsters peeking out of the nest hole! This hide is one-way glass, situated at ground level, with a wild flower meadow as the backdrop. It also doubles up as a White Tailed Eagle hide in the winter months.
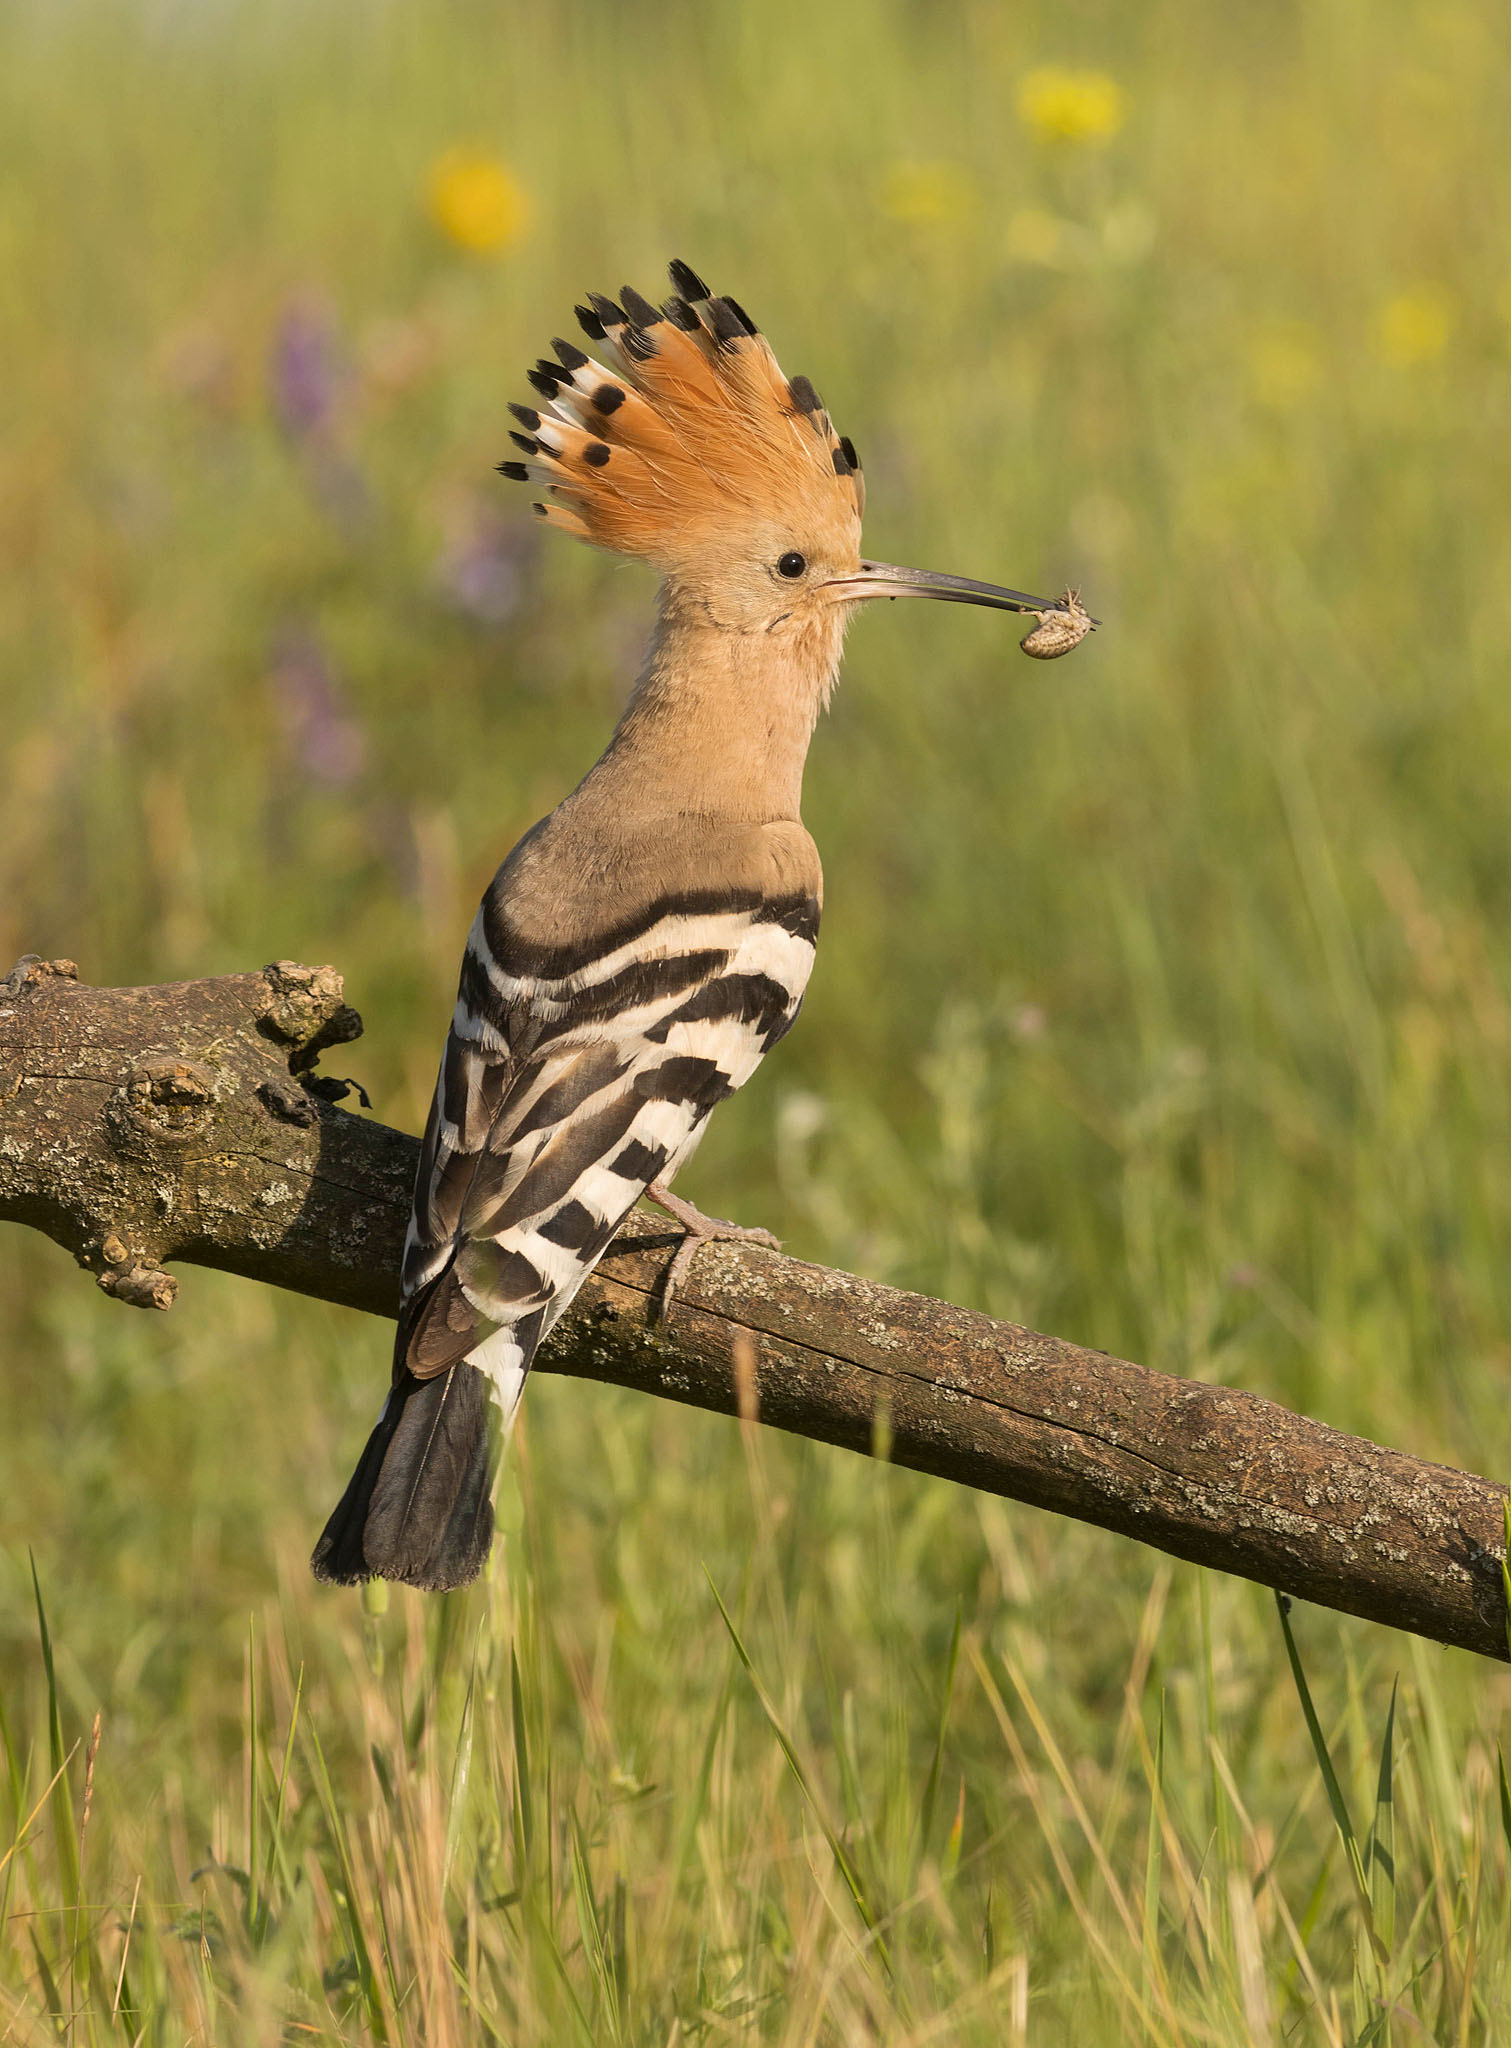
hoopoe perched with food for chick in a flower meadow in serbia

hoopoe chick peering out of nest hole in a tree in serbia

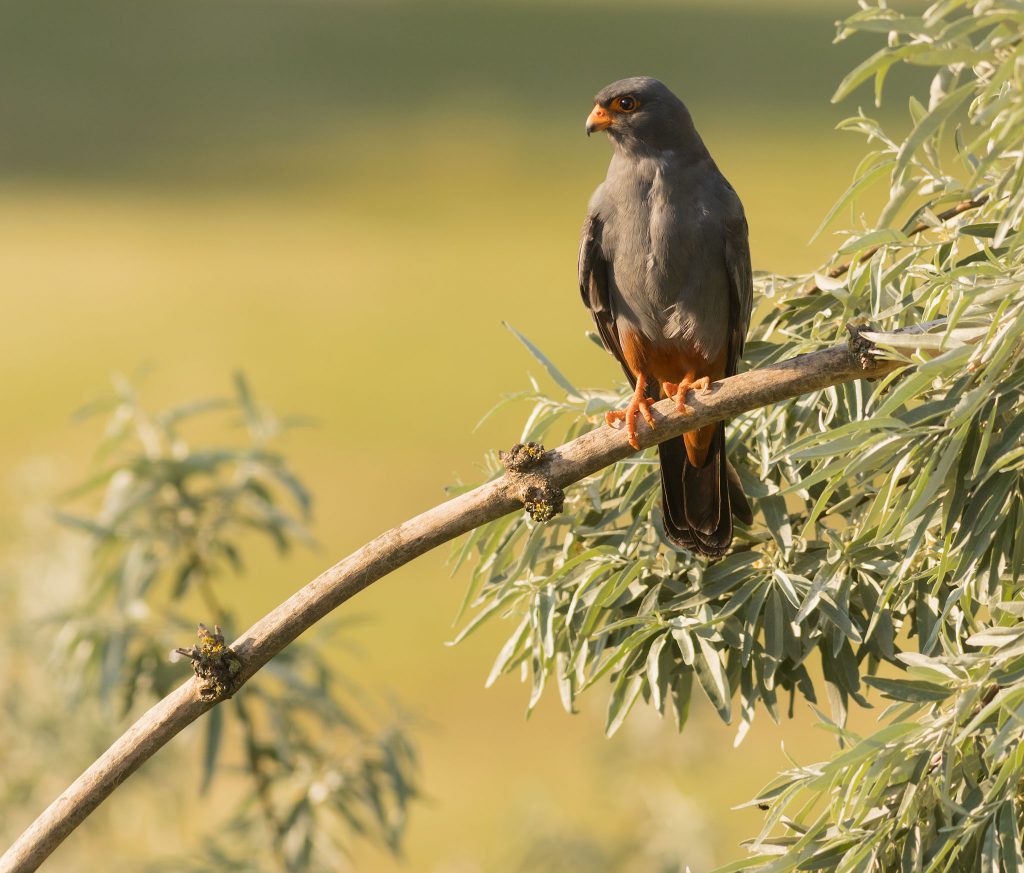
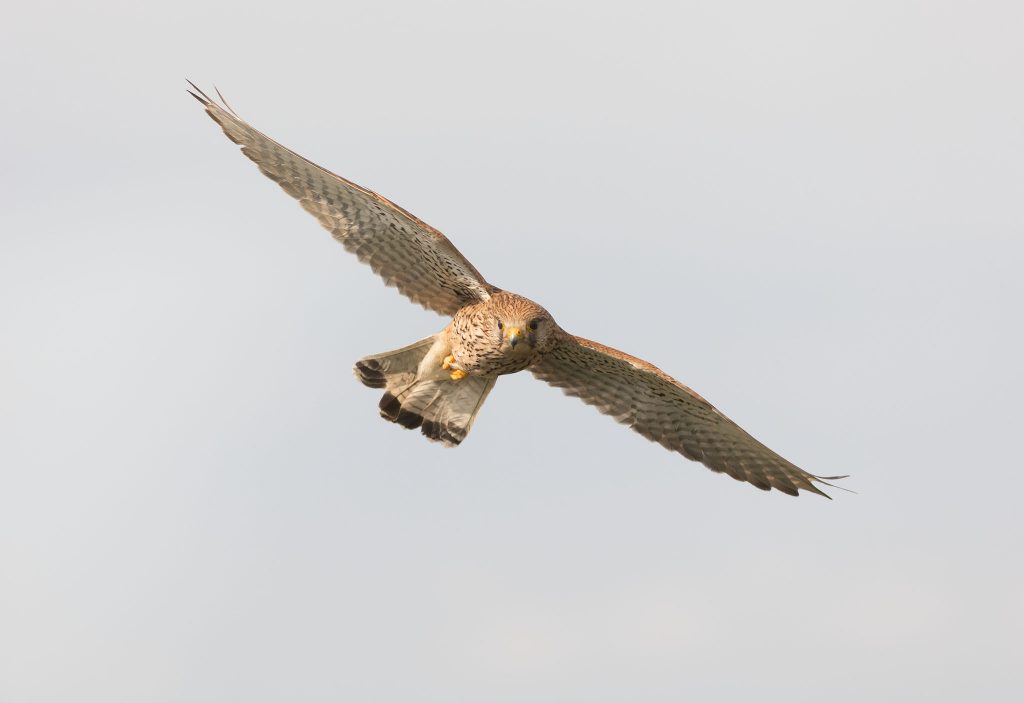
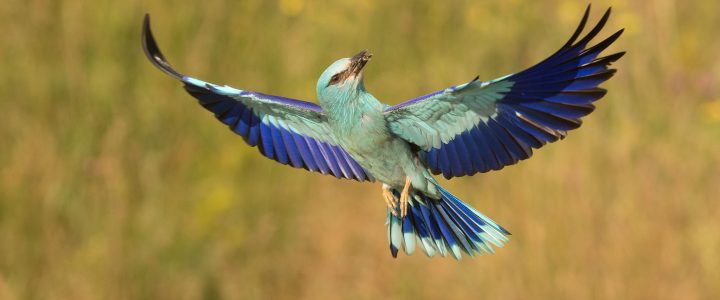
The Tower Hide is always a busy place for photography. Here Red footed Falcon, Common Kestrel and European Roller all nest in close proximity. At times the action can be a little crazy – with so much going on that you don’t know where to point your camera! It often pays to concentrate on a specific species, or focus on a pre-visualised image. I’ve always struggled with flight shots here in the past; this time I managed my best flight shots of both Kestrel and Roller. The Red footed Falcons are always a challenge – their speed can be incredible!
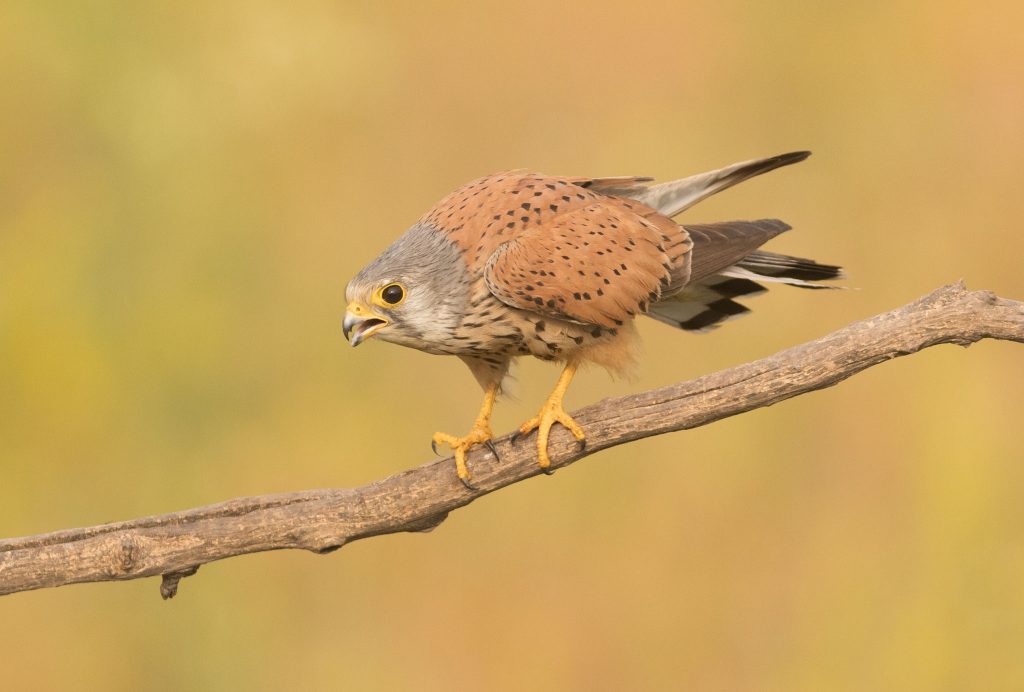
male common kestrel calling on a perch in serbia

female common kestrel in flight in serbia

male red footed falcon perched in a tree in serbia in evening light

I tried a suggestion from one my clients, Ray, switching to a larger rectangular box for my autofocus. I was amazed how well it worked and I captured one of my best ever flight shots of a Roller as it swooped up to its perch. The Canon R6 auto-focus had locked on incredibly well and from 6 images, 4 were pin sharp on the head. Happy days!  Everyone enjoyed the Tower Hide very much and we did another session later in the week.
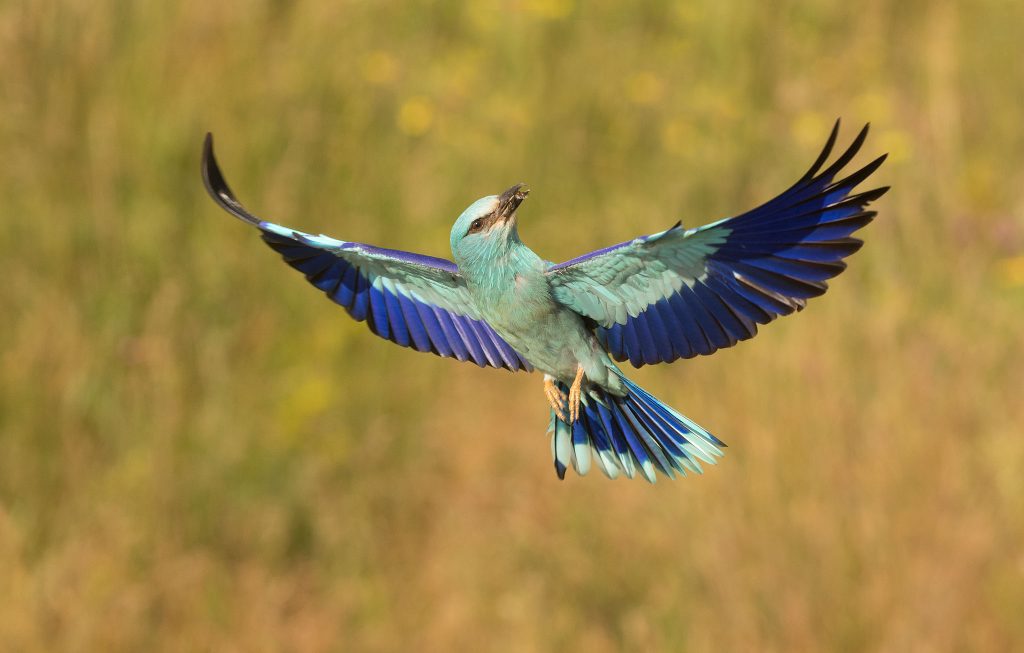
european roller in flight with food in serbia

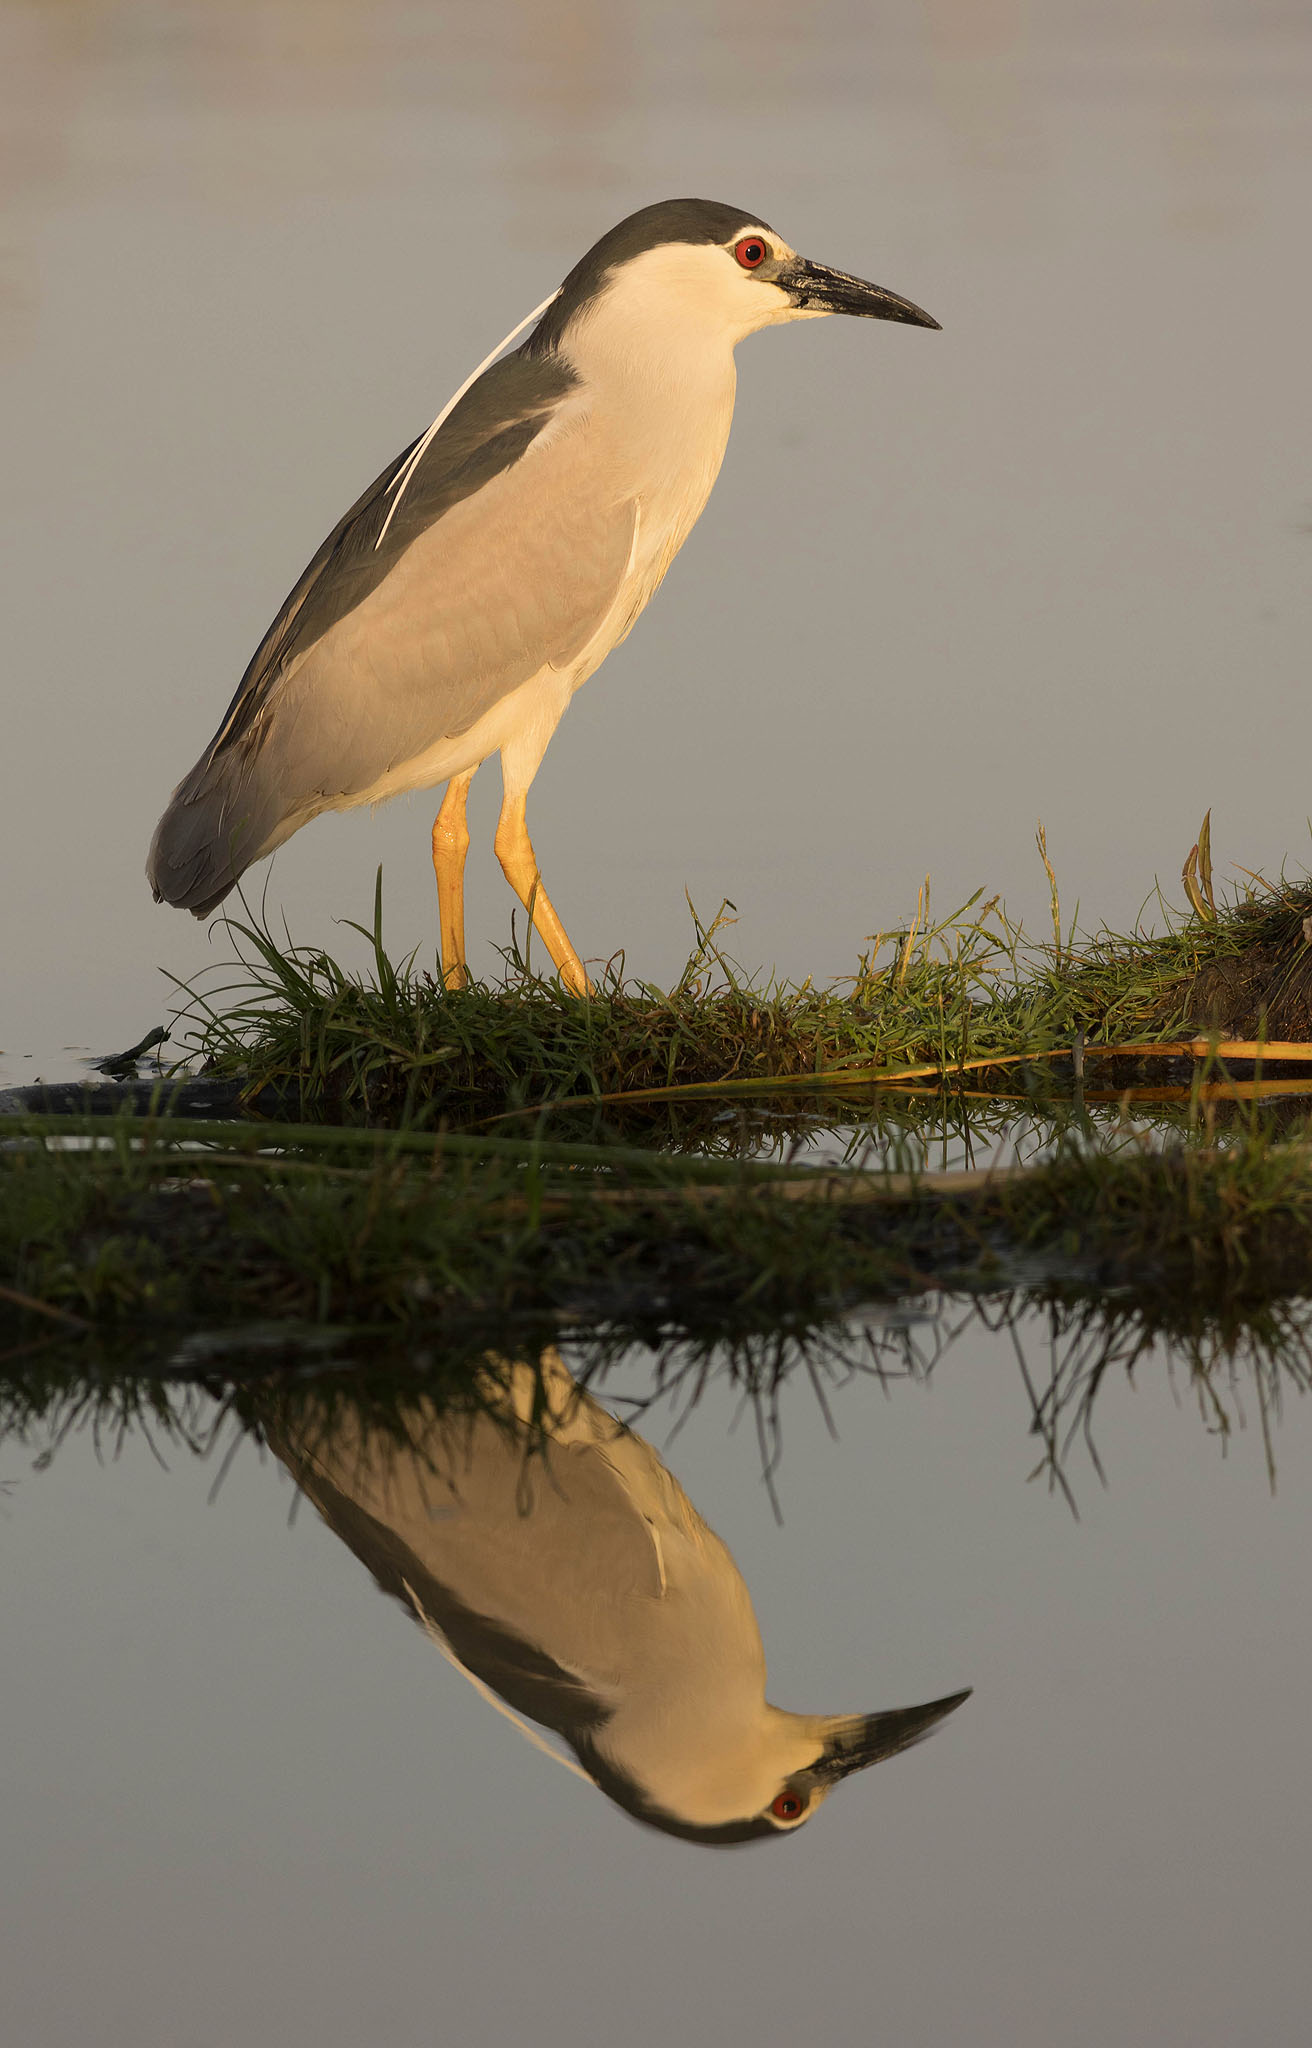
The Water Hides are some of my favourites in Serbia. There are currently 2 in action, whilst a third one is being built for 2024. The main Water Hide is situated amongst the reed-beds with a beautiful view across the water. The background colours are beautiful and with low winds the reflections are very appealing. From our sessions here we photographed Grey Heron, Night Heron, Squacco Heron, Purple Heron, Little and Great Egret. The light here can be stunning – early in the morning the sun starts to break over the reeds and the quality of both sunlight and reflections is spot on.
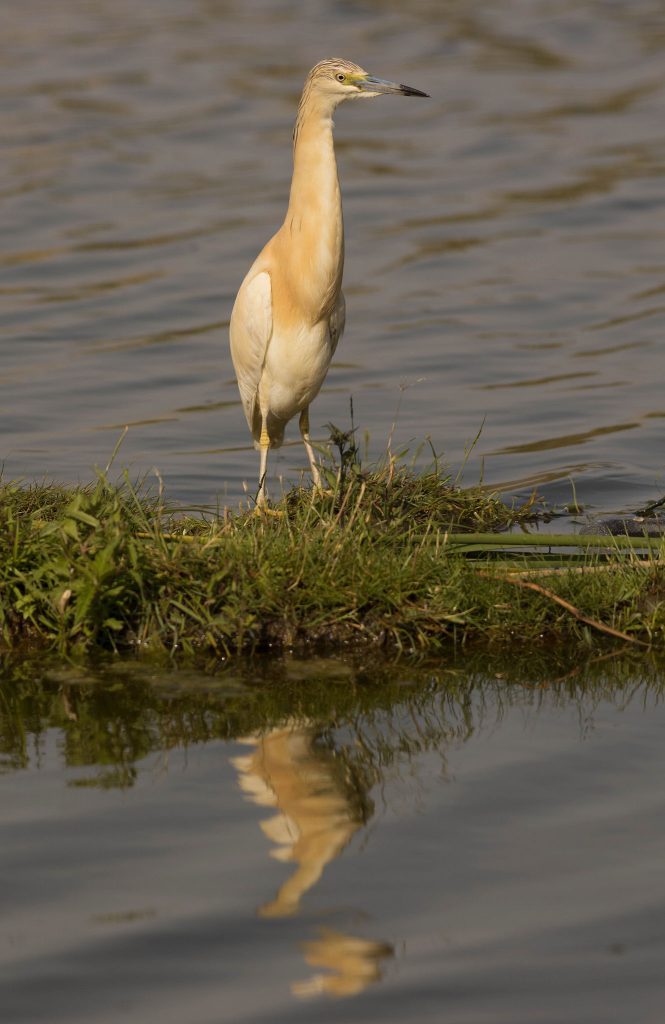
squacco heron on lake in serbia
black crowned night heron with reflection on water in serbia in morning light


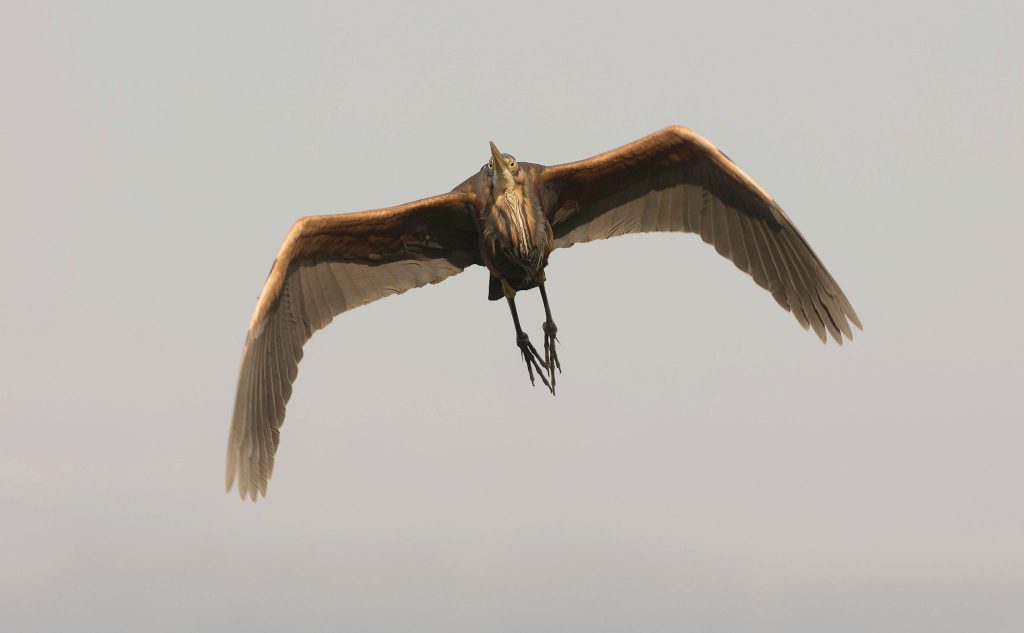
purple heron in flight in serbia

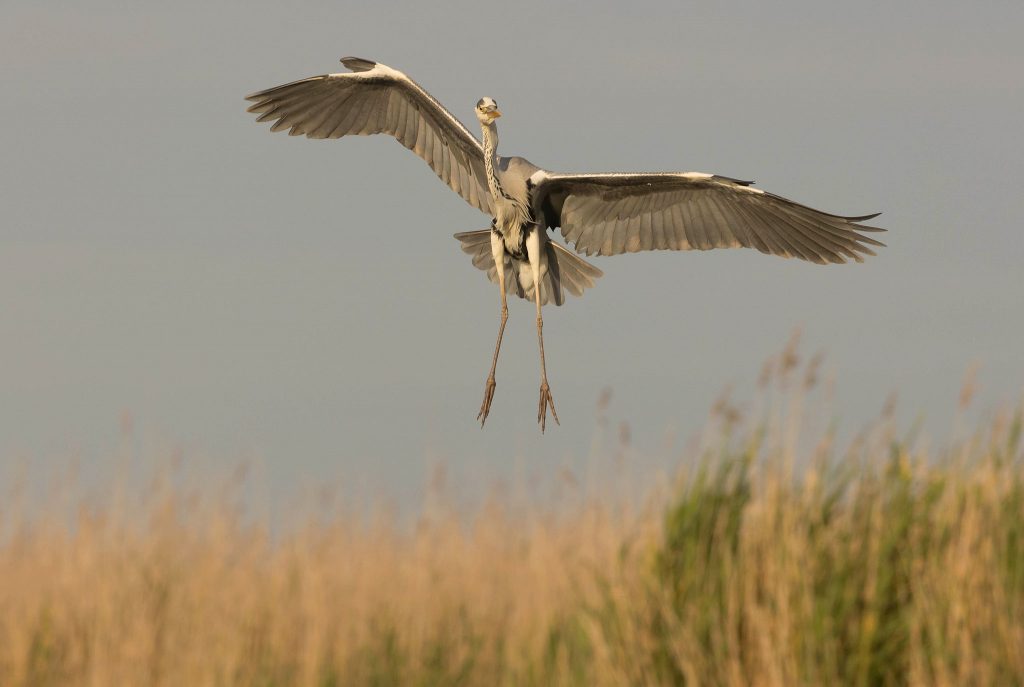
grey heron coming into land in reed beds in serbia

In our last session at the hide we had quite a surprise. Out of nowhere a White Stork landed, right in front of us and began to fish. We all took many, many images as the bird danced around, striking numerous poses and catching its prey. This was an absolute delight and something I had never seen from this hide before!
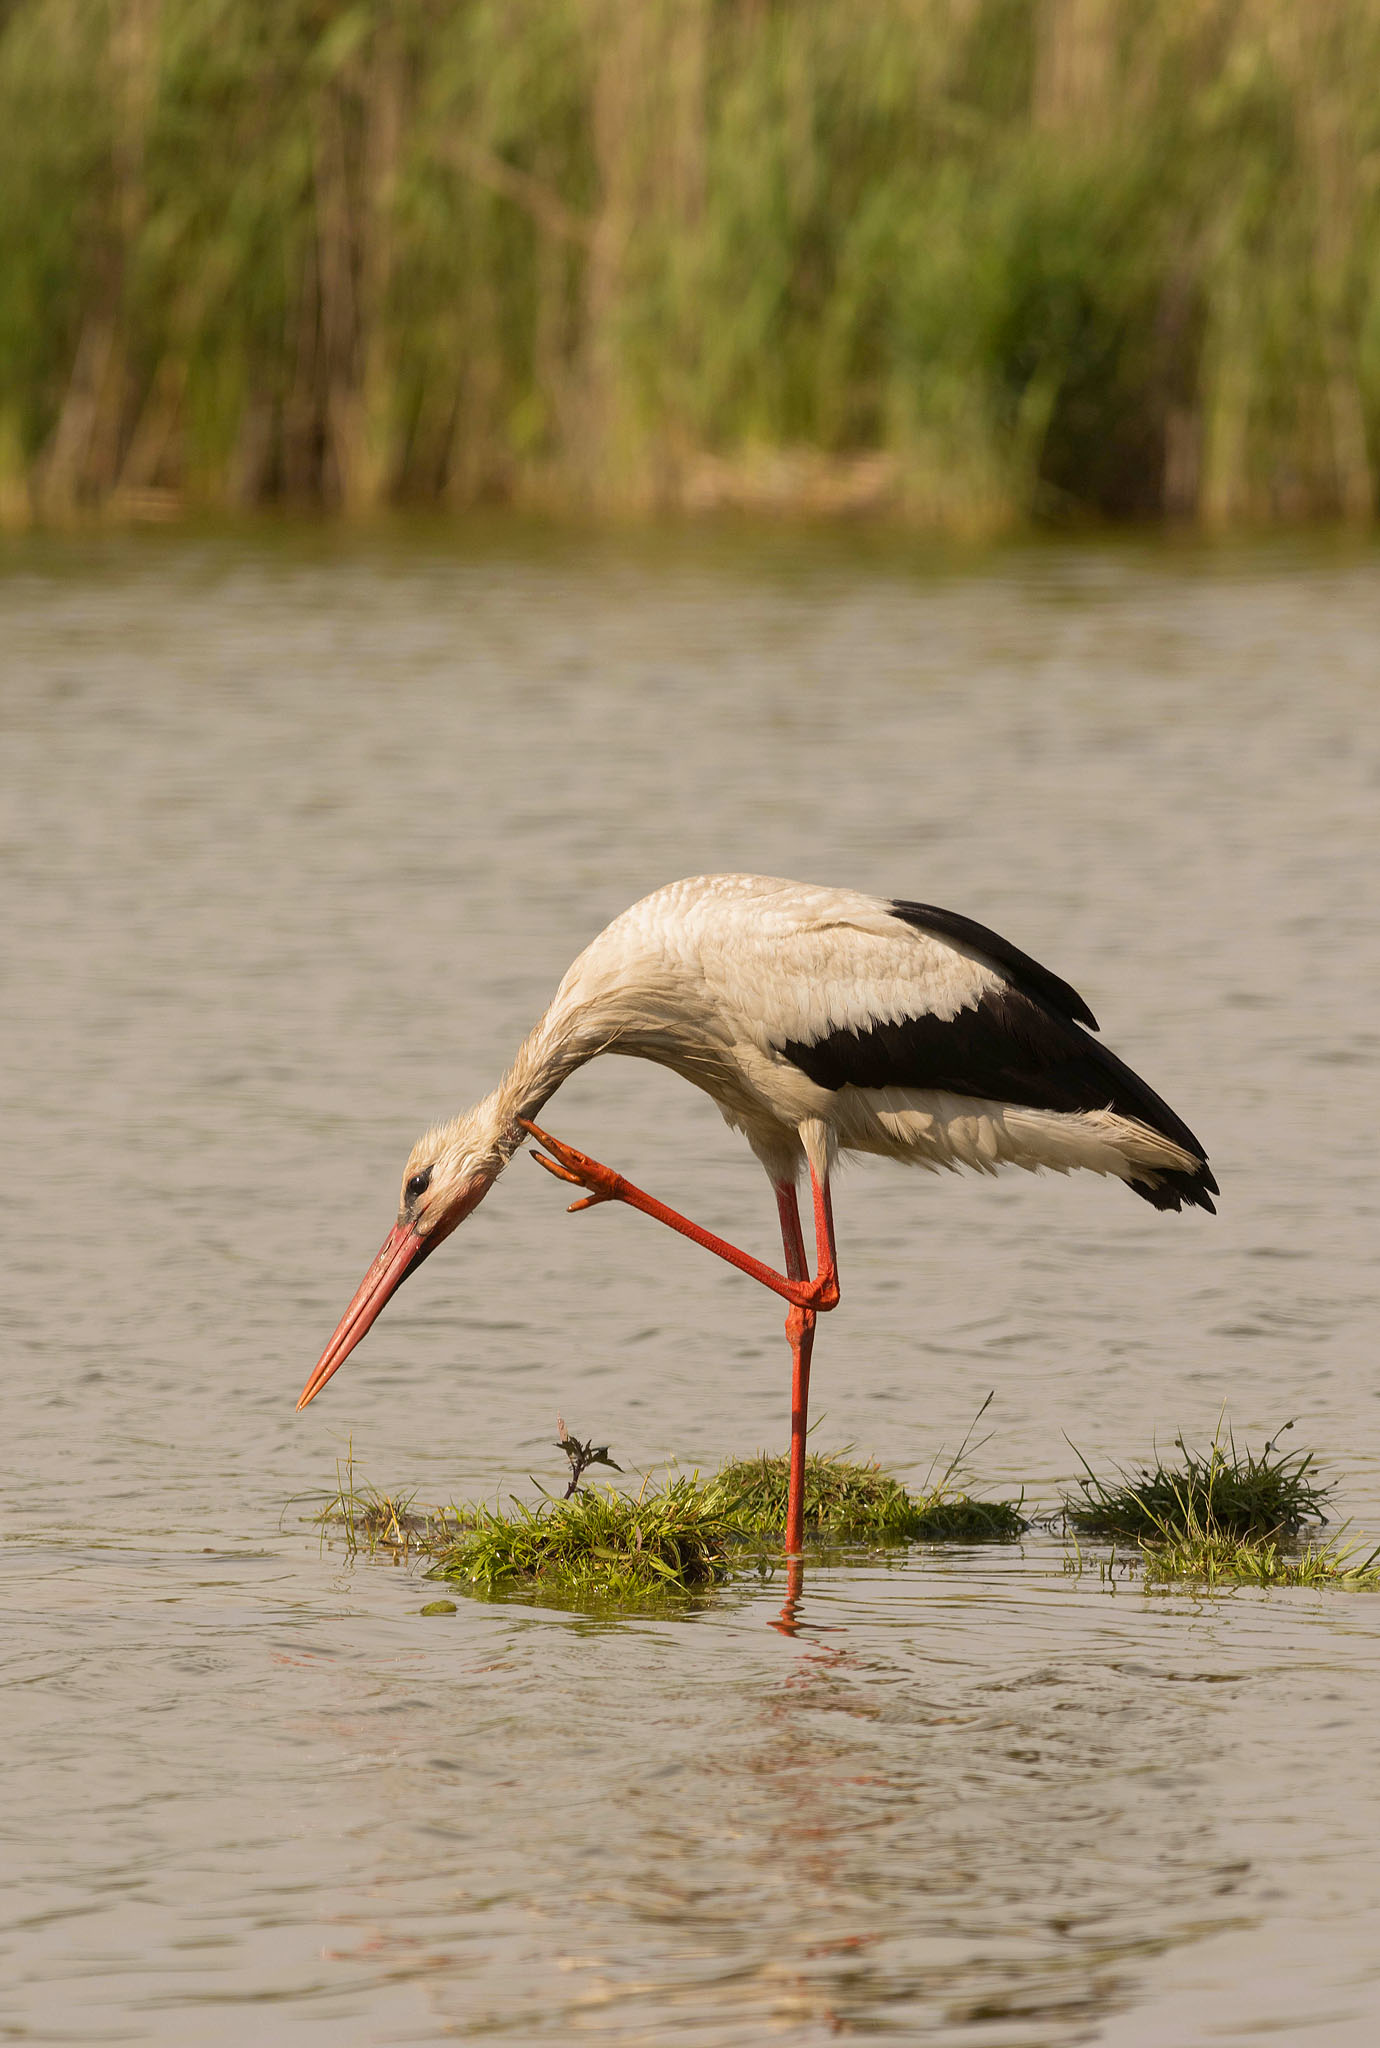
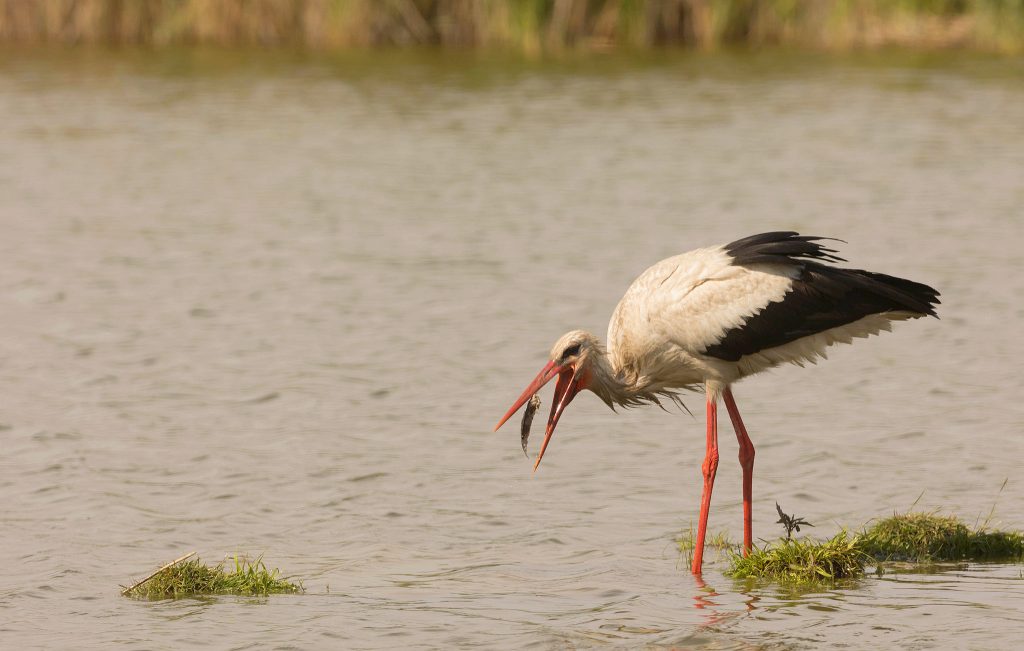
white stork stood in water on one leg scratching head in serbia

white stork feeding on fish in water in serbia


Join the Waiting List for my Serbia Tours 

Email: paul@naturephotographycourses.co.uk


The second water hide is a low down affair. Lying in a 4 foot high tube for hours on end is never comfortable… but I really like the aspect of this hide. Completely at ground level we had close up views of a range of birds that were naturally foraging in the shallow waters. Lapwing, Redshank, Great Egret and Purple Heron all came reasonably close for photography. It pays to keep turning over now and again (a bit like a spit-roast) to relieve tension in both your neck and back. Still, it might help to incorporate a little pilates into your life for moments like these…
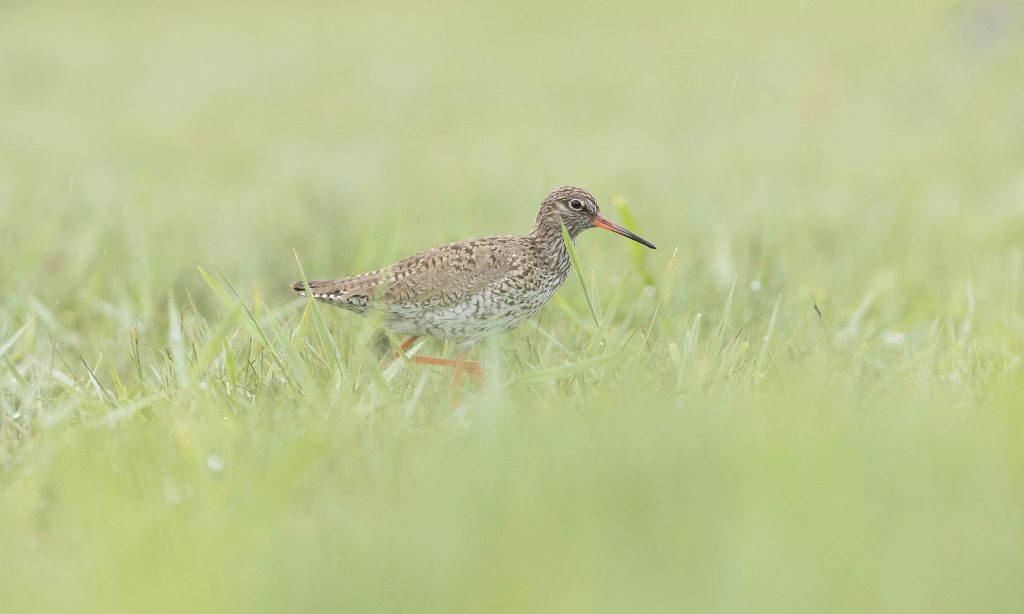
redshank walking low down in grass in serbia

Some of my favourite images from this session were of a Pygmy Cormorant. The light was always flat and at times there was a little rain in the air. It was nice to get something different, a little atmospheric – the bird even did a nice shake for me at one point!
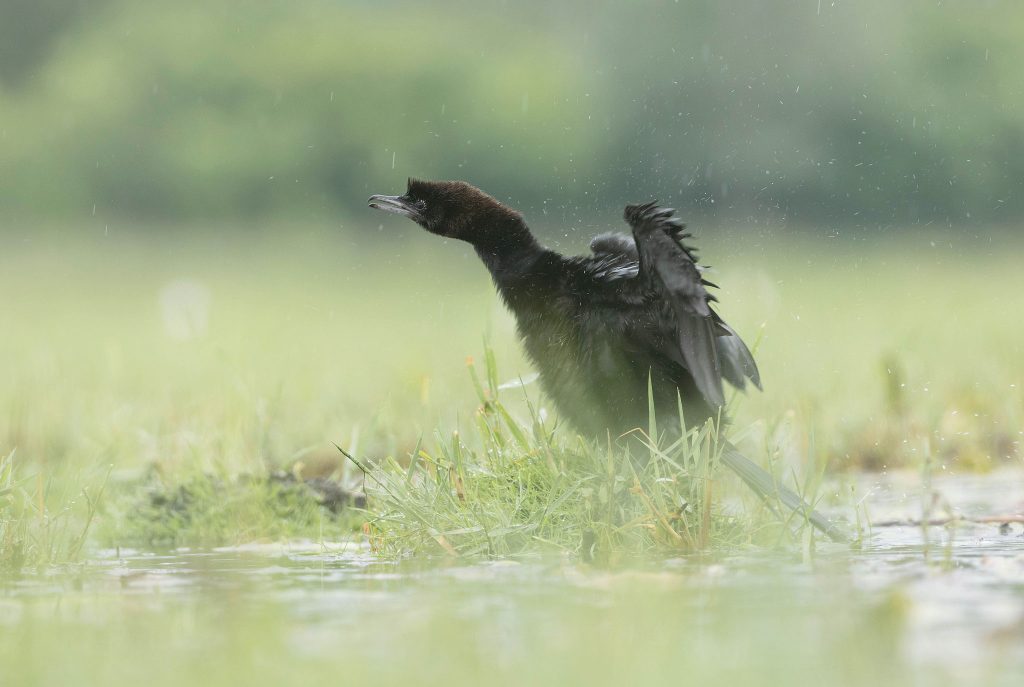
pygmy cormorant shaking off water in rain in serbia

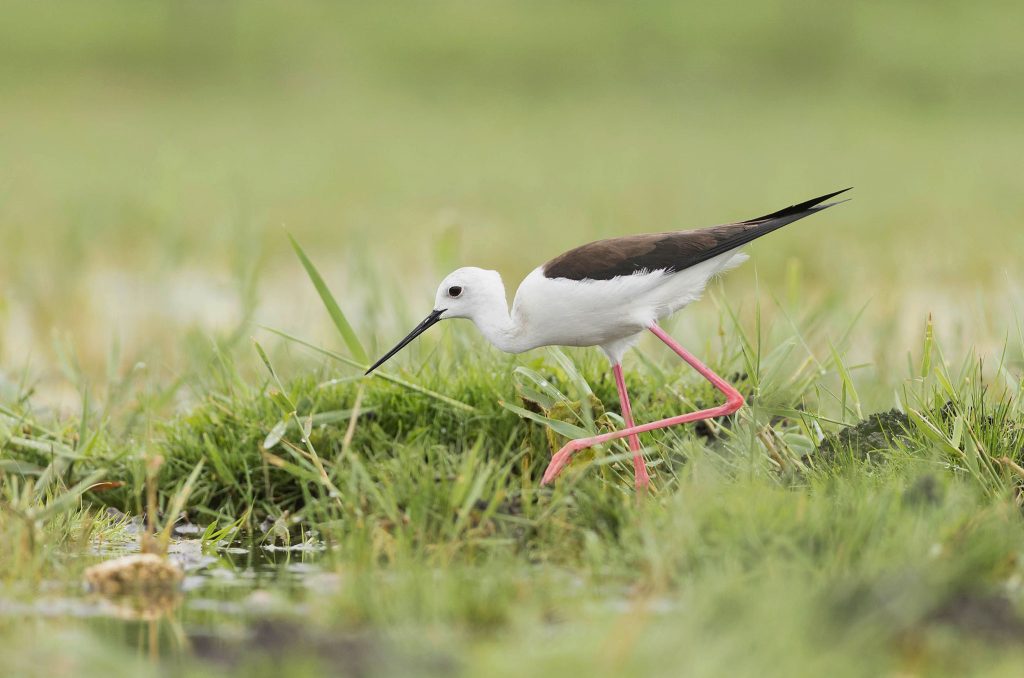
There’s one bird I’d always wanted to capture in the past but never been successful – the Black winged Stilt. I think these birds are beautiful. Dainty and elegant.. although they can look a little too ridiculous at times when you realise just how long their legs are. As I’d hoped, a few of these birds slowly wandered in our direction and we managed some pleasing shots, often with blurred foregrounds.black winged stilt feeding in shallow water in serbia
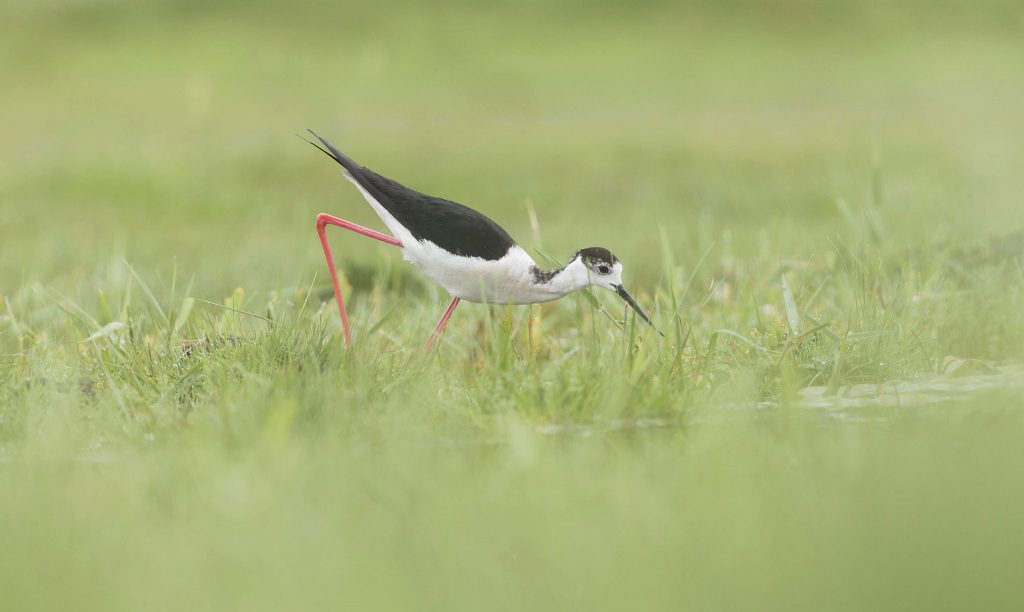
black winged stilt feeding in shallow water in serbia

We did a solid 4 hours in that hide and, despite the discomfort, I really enjoyed my time in the there. And there’s always a sense of achievement at the end!

This year conditions for the Bee-eaters were fabulous. Shooting in the afternoon can give incredible light, particularly as the sun begins to set behind us. We shoot from a pop-up hide, which the birds readily accept. The bubbling sound here is just incredible, something that can’t be conveyed in the images – but you can listen to it in my Serbian Photo Tour Video
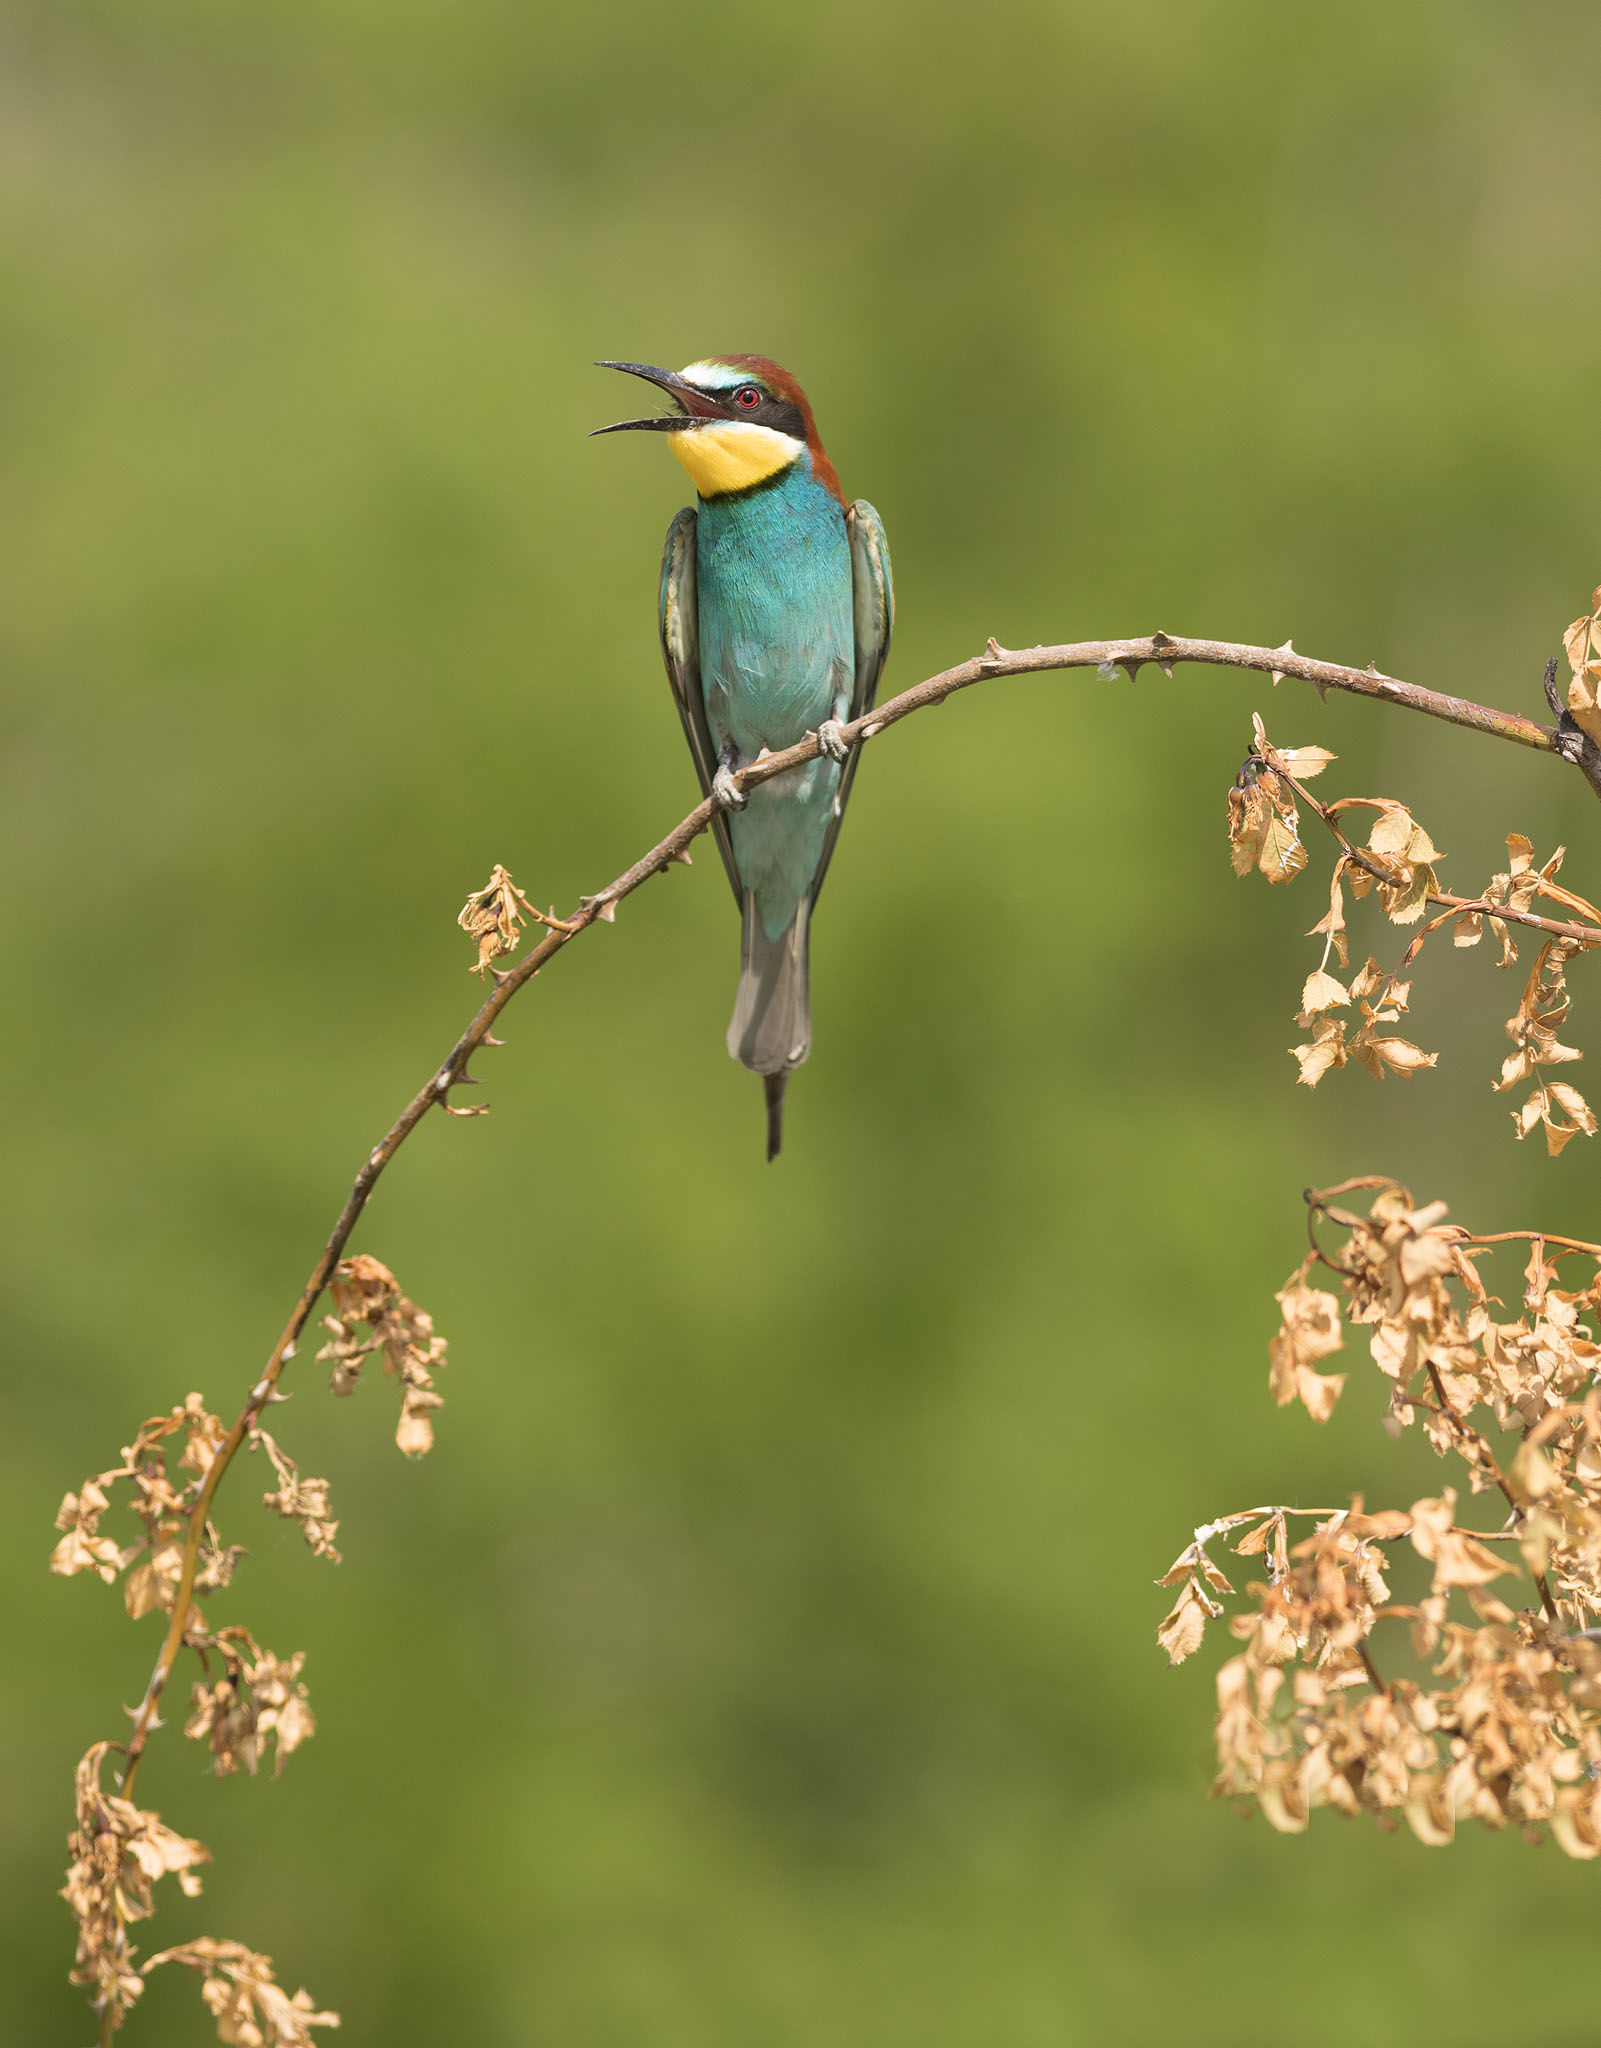
european bee-eater calling on perch in evening light in serbia

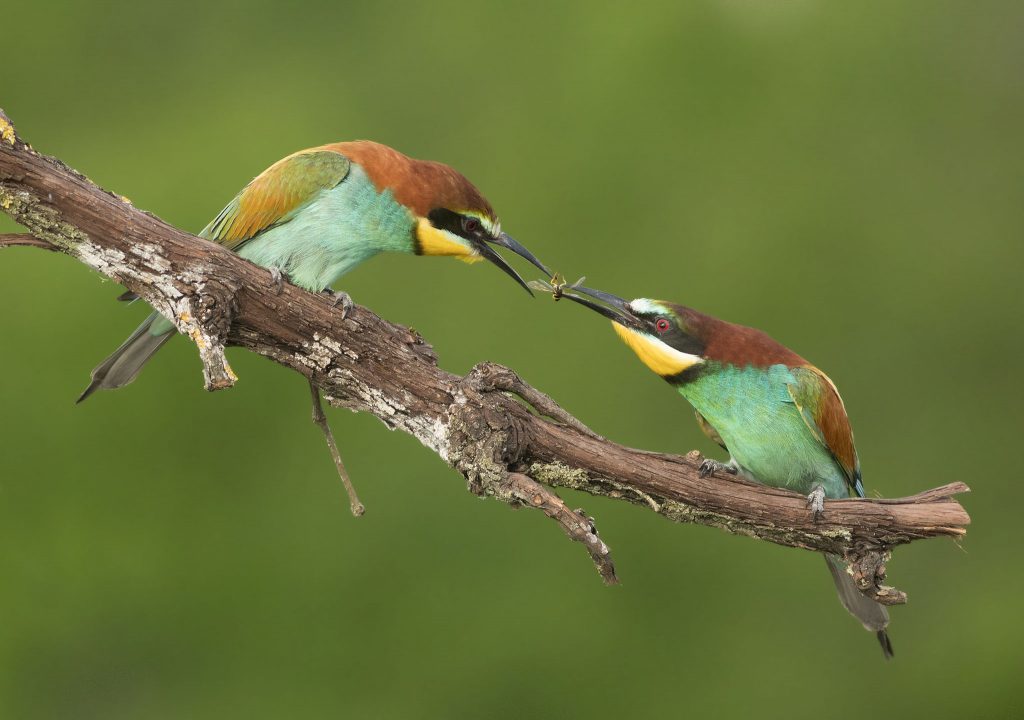
european bee eater food pass on branch in serbia

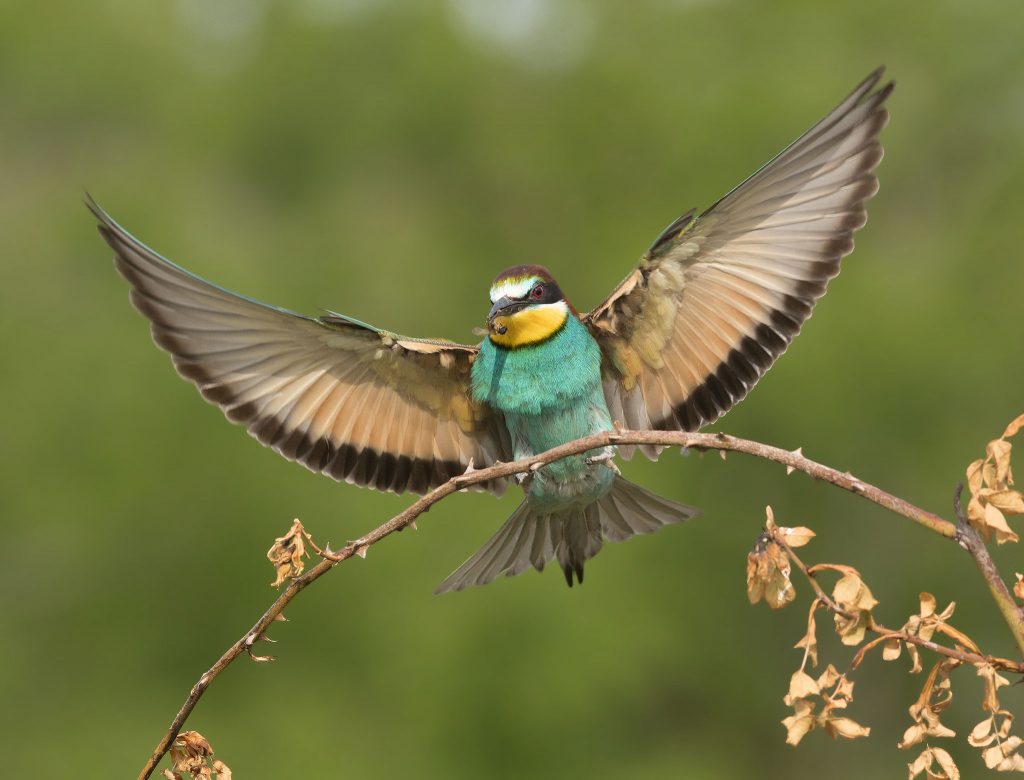
Simple portraits aren’t difficult to capture and even the food pass is relatively easy. So, with such great light, and favourable winds, I set about capturing some decent landing shots as birds came to alight on the perches. It’s often trial and error, but after a few attempts I managed some images I was really happy with.
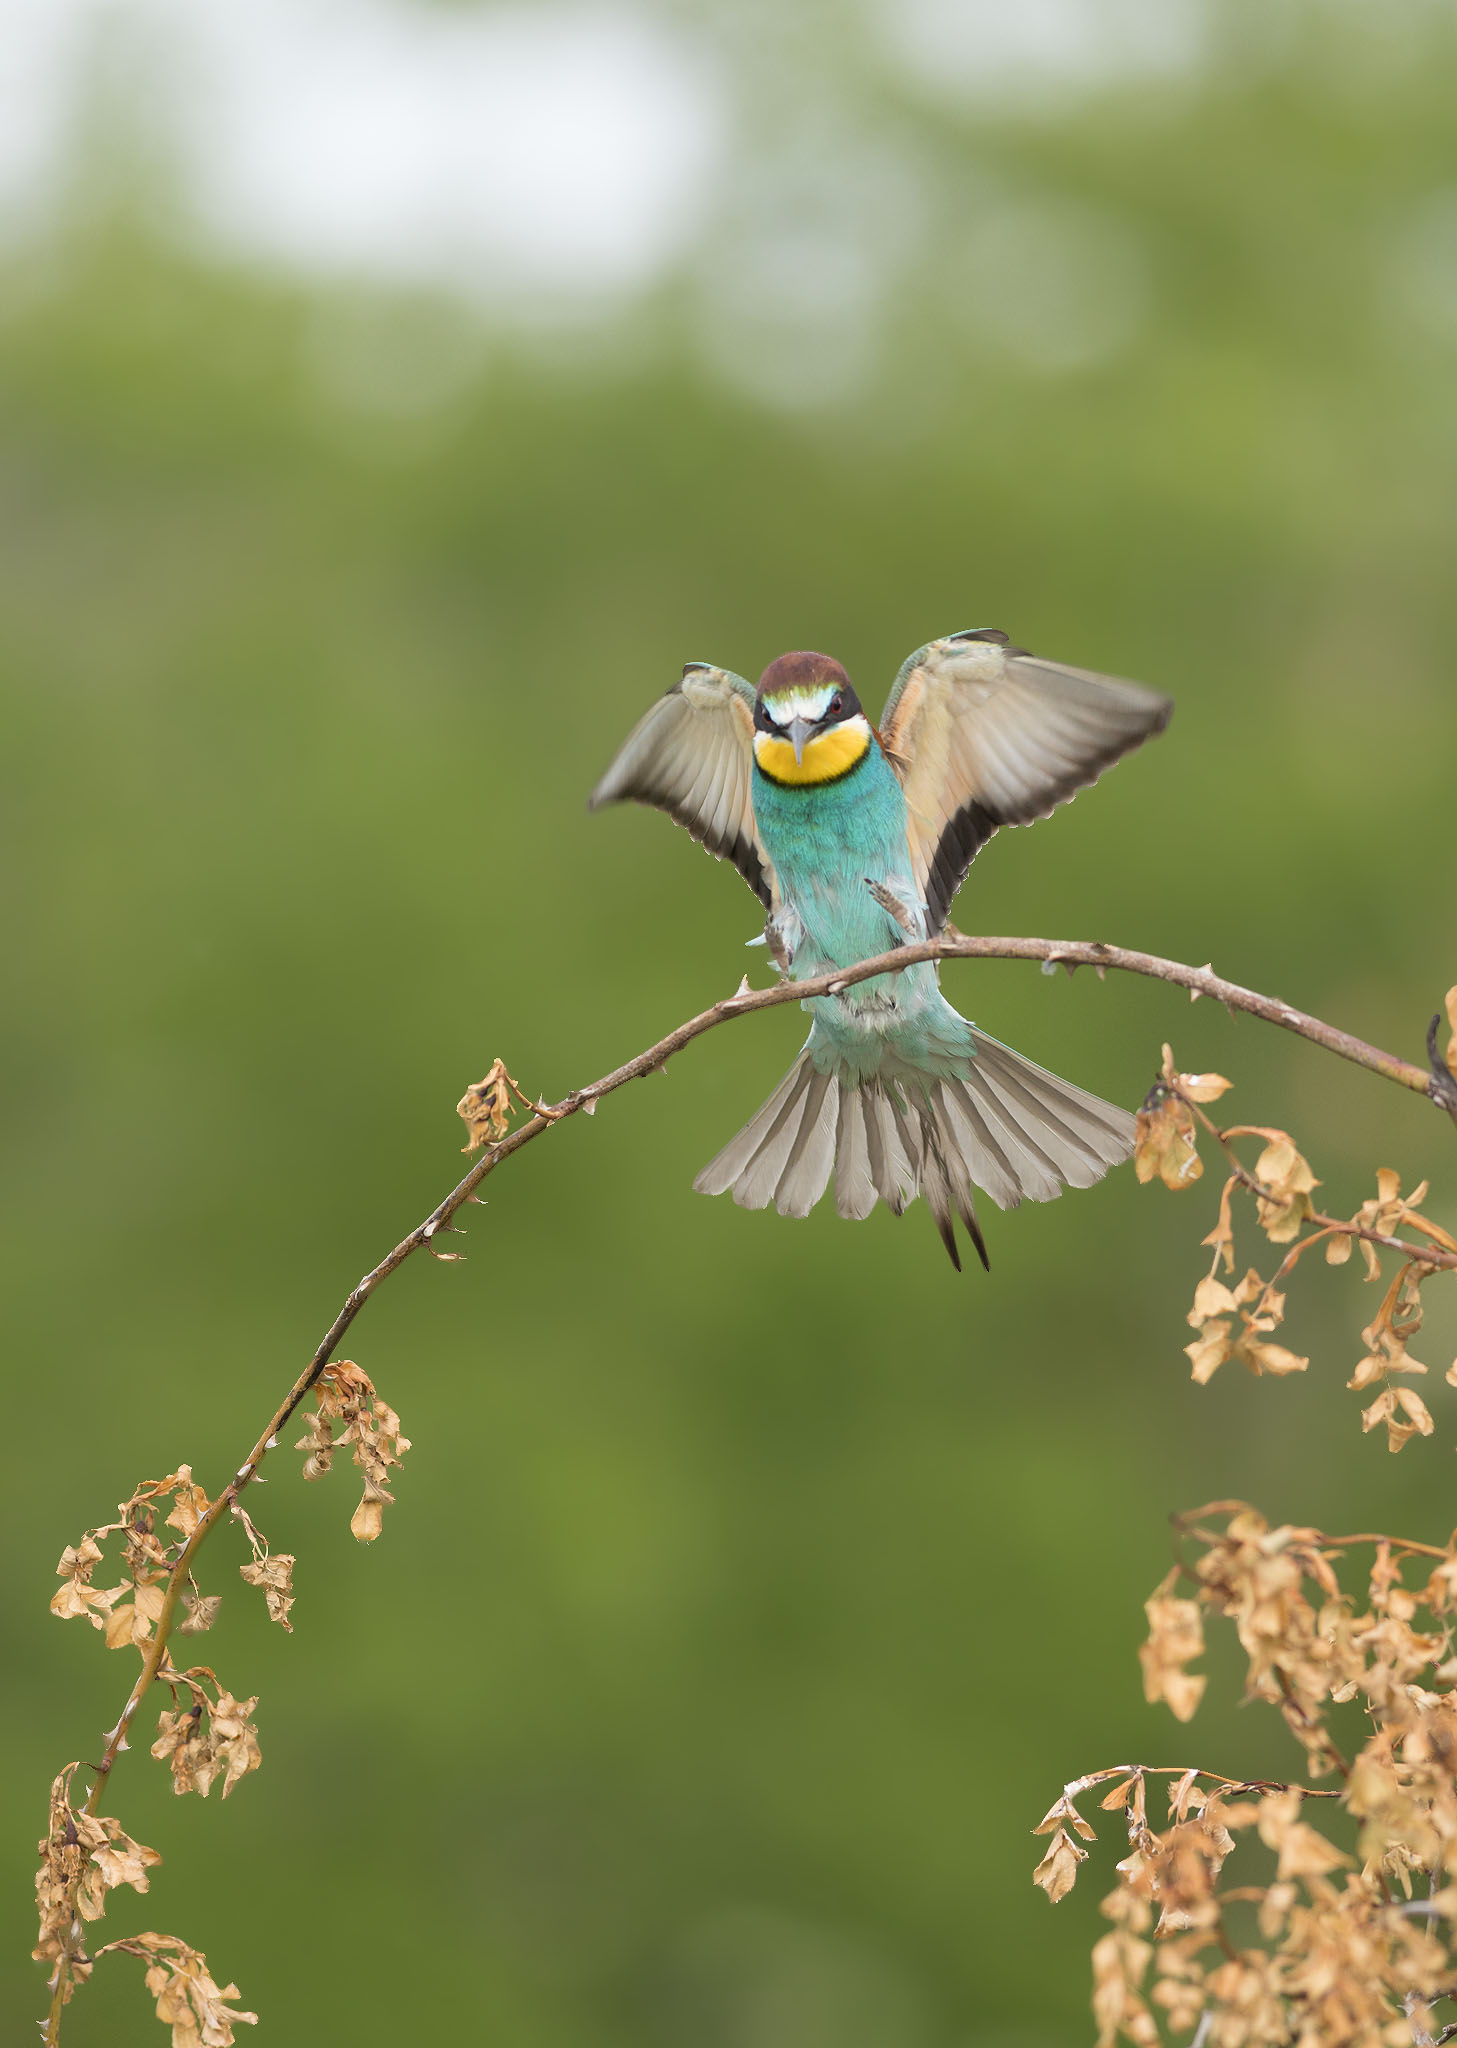
european bee-eater coming into land on branch in serbia

european bee-eater coming into land with wings outstretched on branch in serbia

Without doubt, one of the highlights for me was our new location for Birds in Flight Photography. This site allows us to shoot at eye level and with such good activity we had numerous attempts at our flight shots. In just a short space of time we had photographed 4 species of Heron, 2 species of Egret and 2 species of Cormorant, not to mention the many Gulls – all from the same place!
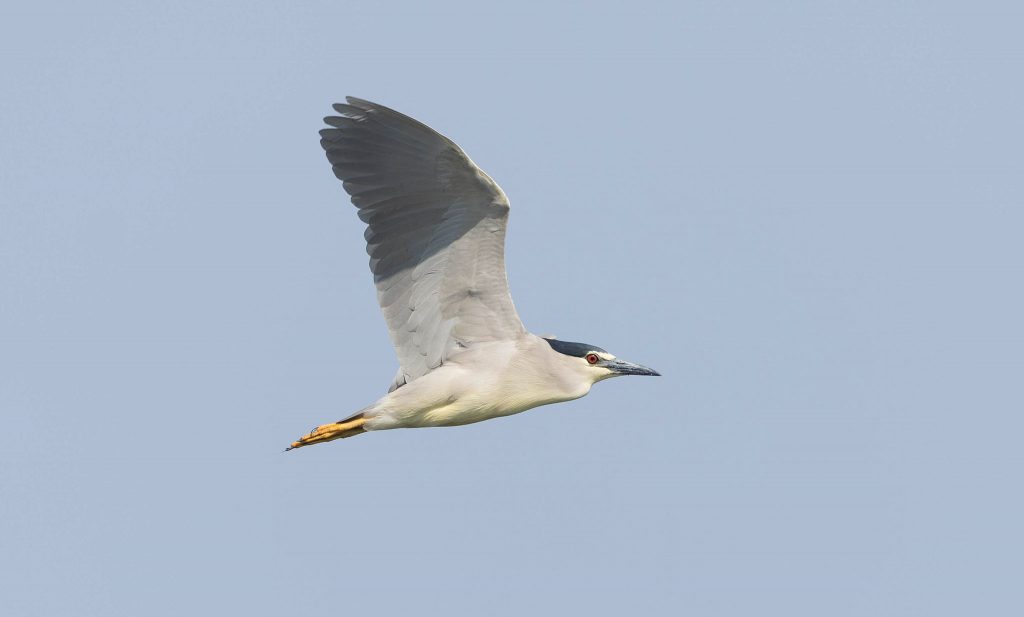
night heron in flight with blue sky in serbia

Over the week we photographed at a second Hoopoe Hide, a Penduline Tit nest, and enjoyed ‘in the field’ photography with the help of our knowledgeable Serbian guides. We photographed Spoonbill, Great Reed Warbler, Moustached Warbler, a family of Bearded Tits and numerous Marsh Harriers! We had sightings of Red backed Shrike, Saker Falcon and Little Bittern. The species we saw reached impressive numbers – we counted around 50.. just in one morning! We finished our tour with a morning trip to Subotica, with a local guide, for a little sight-seeing and to learn about the history of the town.
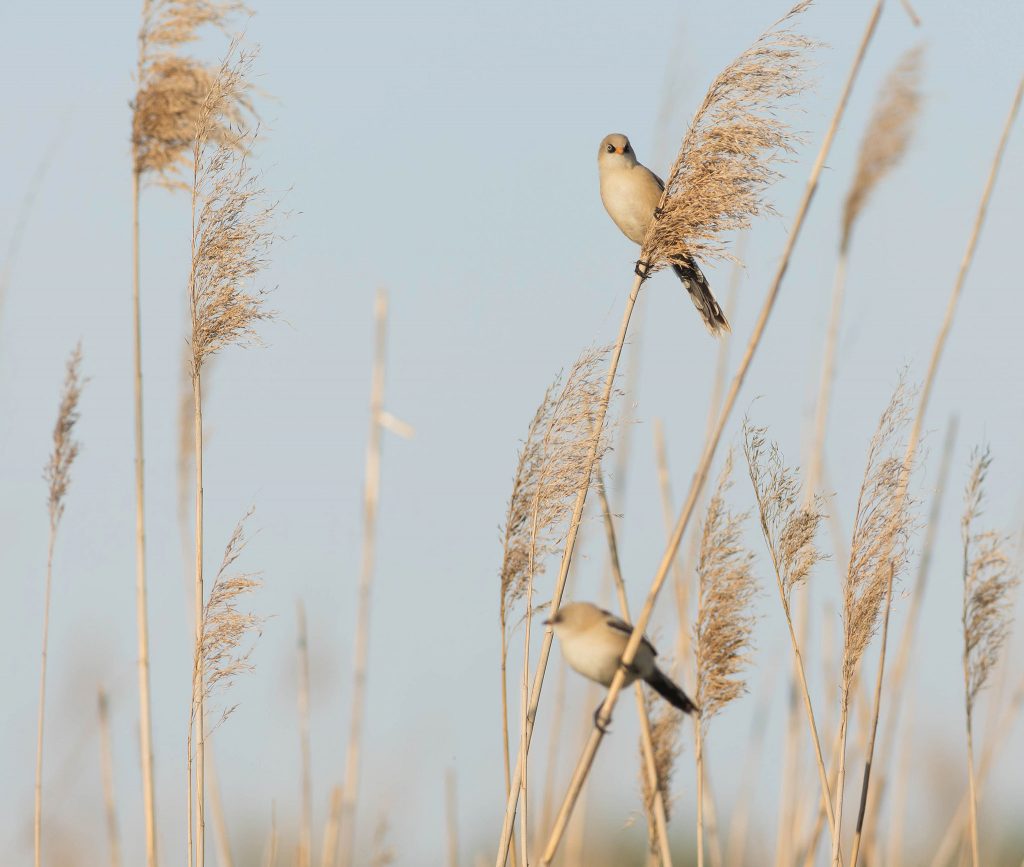
two bearded tits perched in reeds in serbia in summer

It was a great week with some truly memorable moments. As always a big thank you must go the hide operators who work extremely hard. And a massive thanks to my clients for making it such a fun trip, great company to have!

Watch my video of this years’ Serbian Bird Photography Tour on YouTube


Join me on a Tour in Serbia (Places are limited)

Email me: paul@naturephotographycourses.co.uk


Photograph the Famous Roosting Long Eared Owls of Serbia


For Wildlife Photography Tours in Serbia & Bulgaria  make sure to Join My Mailing List  


Full Bird List for this Tour

I’ve done my very best to list everything we saw and heard, but there were so many species I may have missed something!

Farmland / grasslands: Red footed Falcon, Common Kestrel, European Roller, Jackdaw, Collared Dove, Common Starling, Magpie, Carrion Crow, Hooded Crow, European Bee-eater, Common Cuckoo, Saker Falcon, Hobby, Stonechat, Turtle Dove, Golden Oriole, Woodpigeon, Corn Bunting

Water Birds: Grey Heron, Black-crowned Night Heron, Squacco Heron, Purple Heron, Great Cormorant, Pygmy Cormorant, Great Egret, Little Egret, Little Bittern, Spoonbill, Black winged Stilt, Mute Swan, Coot, Mallard, Pochard, Red crested Pochard, Ferruginous Duck, Tufted Duck, Greylag Goose, Redshank, Northern Lapwing, Marsh Harrier, Black headed Gull,  Mediterranean Gull, Black Tern, Whiskered Tern, Kingfisher

Reed beds / Wetlands: Bearded Tit, Sedge Warbler, Reed Warbler, Great reed Warbler, Moustached Warbler, Penduline Tit, Sand Martin

Woodland and Scrub: Whitethroat, Red backed Shrike, Lesser grey Shrike, Long eared owl, Little Owl, Great spotted Woodpecker, Syrian Woodpecker, Green Woodpecker, Jay, Great Tit, Chaffinch, Blackcap, Whitethroat

Other Wildlife: Otter, Roe Deer, Brown Hare, Water Snake, Frogs, Lizards, Butterflies, Damselflies & Dragonflies
Share

Tragopan Hokki V2 Low level Photo Blind

Tragopan Hokki V2 Low level Photo Blind

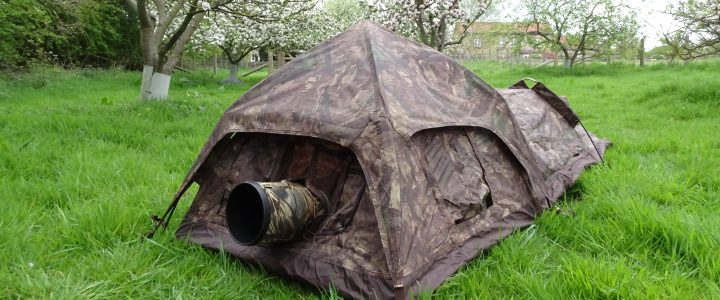
For a while I’ve been keen to try out one the purpose made low level photography blinds. Therefore, I was very happy when Tragopan provided me with the Hokki V2 Ground Photo Blind to test out. Here’s my initial thoughts on the blind:

Weight

The blind comes in a small carry bag – easy to carry and weighs just over 2.5 kg. Not a problem to take on journeys.

Erection

I found this blind one of the easiest to put up so far. The dome part works with folding poles that click into place via pulling on a cord – clever, quick and efficient. There are only two poles needed (included) – one which gives shape towards the back of the blind and one at the very end. Ground pegs are inserted at various points to anchor everything. An extra cover provides further protection over the dome section, which neatly clips into each corner. It really is like putting up a tent.. but easier!

Windows

The front opening of the photo blind can be used with various windows such as snoots and mesh. This gives options of more or less concealment depending on your preferences. Windows fit to the front opening by attachment of velcro on the inside.

Comfort

A low level blind is never going to super comfortable but here a groundsheet is included to help reduce exposure to cold and damp. Ventilation has also been considered – with vents both at the top and rear of the blind and separate small zipped windows on either side.

Watch my initial review on Tragopan Hokki V2 Ground Photoblind

Taking the Blind Down

This was really as simple as putting the blind up. First take out the ground pegs and make sure you’ve removed the poles and the extra roof cover. On the dome section – push down where the arrows indicate and the poles will collapse. These can then be folded up. I found that I could then fold the entire blind up easily and fit it back into the bag.

This was the first time I’d seen Tragopan’s blinds and I’m impressed. There are many excellent design features, including the clever ‘pull and click’ mechanism to get the main section into place. I was also pleased to see extra coverings to prevent rain getting inside, such as the roof section – and flaps over zips. These may seem like insignificant things but they can really make a difference. Vents, both on top and at the rear of the blind, seem a sensible inclusion too.

If you’re after some innovative photo blinds for your wildlife photography, check out the range of products at
https://tragopan-shop.com/en/e-shop/hides/

Many thanks to Tragopan for providing me with this blind.

You can also watch my YouTube review of this wildlife photography hide.

Share

Wildlife Photography for Beginners: My 5 Top Tips

wildlife photography for beginners

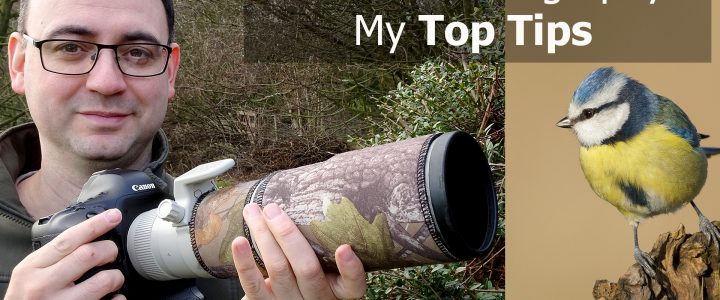
There’s many ingredients that make a cracking wildlife image. Today I’ve picked out just 5 tips that I think are particularly important if you’re just getting started.

Tip Number 1: Auto-focus Mode

You’re probably using auto-focus already, but it’s important to know which mode you have set in camera. Single shot, also called One Shot or AF-S is ideal for static subjects; with this mode, once the camera has focused on the subject the focus is locked. It’s particularly useful for re-composing without the focus changing. The Continuous Auto-focus mode, also called Servo and AF-C will continuously re-focus as a subject moves, provided you keep focus engaged. This is the best option for moving subjects, e.g. birds in flight and running animals. Make sure you understand the difference between the two and that you always know which one is set in camera. You can also use the Back Button Focus method, in which case you can keep the camera permanently on the Continuous Focusing mode.

Tip Number 2: Focus Points and Zones

Your camera might be set up so that all the focus points (the whole viewfinder) is focusing. This is not ideal! You will have a number of focus points in the viewfinder – these are the squares that will light up red when activated. I’d advise using using one focus point or a small cluster. Depending on your camera you should be able to select different focus points depending on where you want to focus. More advanced cameras will allow greater options of clusters and zones and you should experiment to see what works in different situations. Watch my video on Flight Photography for more detail.

Tip Number 3: Aperture Priority

I always advise Aperture Priority for beginners. This exposure mode is a good choice for wildlife photography, also known as A or AV. You set the aperture, ideally a fairly wide aperture, e.g. f5.6; the camera will then select the appropriate shutter speed dependent on the available light and the ISO. Because you are using a wide aperture and letting more light in, this means that the shutter speed will be higher to balance it. The other benefit of selecting a wide aperture yourself is that it will help blur the background and make the subject stand out more clearly. ISO is also a factor here, so if you’re not sure about this then try the following as a guide: select between ISO 200 and 400 on bright days and between ISO 800 and 1600 on overcast days..

Tip Number 4: Avoid Underexposure

A common problem is when photographing a subject against the sky – resulting in dark, underexposed images. This is because the light reflecting back through the viewfinder causes the camera to reduce the exposure. To fix this, if you’re using Aperture Priority (or Shutter Priority) you need to find the plus/minus button; press this down and use the dial to increase the exposure, i.e. make it brighter. You need to go in the Plus direction; try around +1 as a guide. Each camera will vary how this works but there is usually a dial on the top, or perhaps a wheel at the back.  If you want to understand more about exposure, watch this Exposure Tutorial Video

Tip Number 5: Continuous Shooting

When photographing birds and animals is advisable to shoot continuously, rather than one shot a time. You’ll increase your chances of a better image. Find the Drive setting and switch to a Continuous Frame Rate; you may have options of L and H which is low and high; this will vary enormously from camera to camera. It’s not always necessary to shoot at the highest frame rate. I’d suggest starting with a lower rate continuous mode which might be 3 or 5 frames per second. Wildlife is always moving so the more images you take the greater your chance of a pin sharp photo, and/or a particularly pleasing pose.

Tip Number 6: Extra Tip and Most Important!

Please put the welfare of wildlife first! No picture of a bird or animal is more important than its welfare. Try to learn not just about photography but also about the habits of your subject. Use your instinct and back away if you feel you’re disturbing it. Remember, the more time you spend with a wild bird or animal, the more you will learn – and the more it will come to trust you. If you find a great opportunity for regular photographs of popular species such as owls, or rare birds… don’t tell everyone! You can soon find the quiet location literally heaving with photographers, some who may not have the subject’s best interest at heart!

I hope these 5 tips helped you out if you’re just getting started in Nature Photography. Subscribe to my YouTube Channel for future Tutorial Videos. Happy Shooting!

Share

Photographing Red Grouse in Yorkshire

photographing red grouse

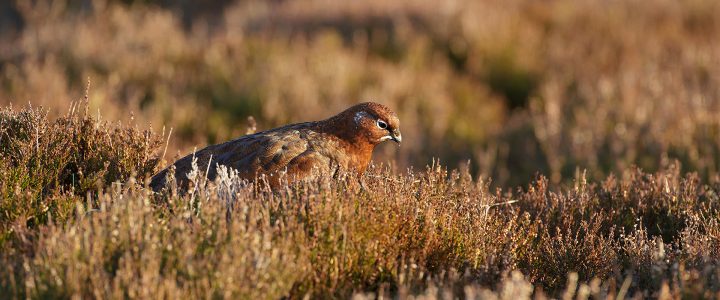
Ever since my first visit to Swaledale many moons ago I’ve been in love with Red Grouse. I’ve lost count of how many times I’ve visited over the years. One particular location provides reliable opportunities with Grouse frequenting the roadside heather. Every day is different but it’s not unusual to get extremely close views if you use the car as a mobile hide. I recently spent a winter’s morning up on the moors, using my Canon 500mm f4 Mark i lens. The technique is fairly simple – just wind down the window and use a good quality beanbag as your camera support. Beanbags provide particularly good support for long lenses and I personally prefer this to using a tripod.

To increase stability I also push down slightly on the barrel of the lens with my left hand; with good technique you can use surprisingly slow shutter speeds if the bird is relatively still. Red Grouse are beautiful birds but they seem to have that kind of plumage that camera’s don’t like! If you’re using off centre focus points and the camera is struggling, try switching to the centre focus point and recomposing – you might find the focus more accurate. Above all try to spend as much time as you can when you find a photogenic bird: capturing some kind of behaviour will really lift your images.

Share

Iceland Photography Tour Report 2018

Iceland Photography Tour Report 2018

In June 2018 I spent seven nights in Iceland in the enjoyable company of three clients – Shelley, Nigel and Craig. Iceland’s weather is very changeable and you never quite know what to expect. Upon arriving we were treated to glorious conditions with clear blue skies and thin cloud providing beautiful light. Our first part of the tour concentrated on Red throated Divers. This special breeding site on the south of the island really is a remarkable place for bird photography. I’ve been here three times previously and captured stunning images of the divers, but you never get bored of these birds… and there’s always something new to photograph. Over three sessions we managed some quality images – often in near perfect light. At 10.00pm we were still shooting, such are the long days of Iceland’s summer. The light at this time is wonderful – just perfect for bird photography.

iceland photography tour

photographing red throated divers

red throated diver photography

Watch my YouTube video of the Red throated Divers

I set myself the challenge of Red throated Divers in flight and concentrated my efforts on one pond. Many divers would fly over, eliciting responses from below with their constant wailing calls. During two evening sessions the sky was almost completely clear, giving perfect backdrops for divers in flight. A few days before the trip my 500mm lens had suddenly failed, so I was making do with the Canon 400mm f5.6. Whilst not as fast, it certainly makes hand-holding easier – and with good light, it’s actually pretty good for flight photography. Around the pools we also photographed a range of birds including Snipe, Red necked Phalarope and Whooper Swan.

red throated diver in flight

flying red throated diver

photographing red throated loons

red throated loon photography

red throated loon tour

snipe photography

Our next leg of the trip included a long drive East, stopping at Vik. The weather was pretty wet here with murky low mist but I was determined to get some images of the beach. Despite the wind and rain (not unusual in Iceland!) I attached my Canon 50mm 1.8 lens and did the best I could hand-held. In these types of conditions I find hand-holding a good option as you can quickly put the camera away should it become too wet. The rain eased off slightly and I went for some shallow depth of field images using the church in the background. Again, hand-held. Despite the dank conditions, Redwings regularly flitted around the lupins occasionally perching on the fence posts.iceland nature photography tour

vik photography iceland

We stopped again briefly, on our return journey and in (slightly) drier conditions I captured photos of the rock stacks – again using shallow depth of field with the flowering lupins as foreground. For this image I used my Canon 100mm f2.8 and took a number of shots varying the focus. I preferred the focus purely on the distant rock stacks.

iceland photography trip

View the 2019 Iceland Photography Tour with Explore Nature

Our last part of the tour included Jokulsarlon, the magnificent ice lagoon. It’s no overstatement to say that this is a photographer’s paradise. From landscapes to wildlife, and something in between, you could shoot here all day. The landscape constantly shifts as the tide brings in new blocks of ice -and washes them away again. Every day is different – not just in the moving icebergs but also in the varying hues of blue. We all managed some landscape photographs and I was particularly pleased to get something decent from the beach – a very strange and quite baron looking environment. Craig particularly enjoyed the landscape and the opportunities to capture more environmental images of birds.

jokulsarlon photography tour

iceland photography tour


photographing jokulsarlon beach

Nigel was in his element, using his 600mm lens to capture Snow Buntings, Arctic Terns and Skuas. The Snow Buntings here are remarkable, allowing really close views. They would constantly hop around the rocks, including juveniles waiting to be fed. Even a torrential downpour didn’t stop these hardy little birds – the males even carried on singing! 

bird photography iceland

icelandic bird tour

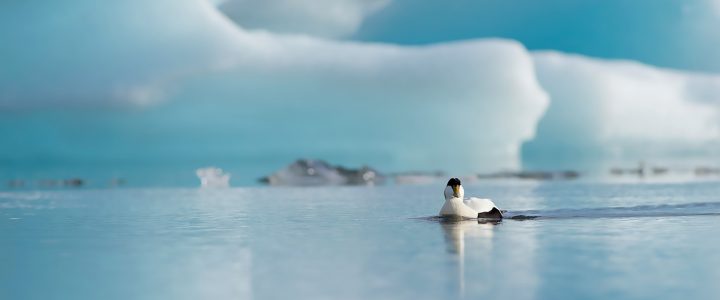
Shelley was content to stay by the water’s edge photographing Eiders and Barnacle Geese as they slowly drifted by in this unique habitat. A long lens isn’t always the best option at Jokulsarlon. Switching to something smaller really allows the environment to come into frame. A 300mm or 400mm can be ideal, or even a 200mm zoom.

icelandic wildlife tour

bird tour iceland

The Arctic Terns at Jokulsarlon provide amazing photo opportunities – from perched groups on icebergs to frantic mass diving into the glacial waters. We all spent time trying to capture a range of shots, including wider views of terns in the habitat. Skuas were constant companions too – as they mercilessly harassed the tern colony!

paul miguel photography iceland


iceland photography guide

iceland tour guide

arctic skua iceland

We spent three nights at Jokulsarlon, thoroughly enjoying our time there. We booked our last night at Keflavik, near the airport, and our final day saw the long journey back. Still, we had many opportunities along the way for even more photography, stopping for a beautiful landscape view near Skaftafell and a small waterfall by the roadside. You could literally stop round every corner in some parts of Iceland.!

landscape photography tour iceland

iceland landscape photography tour

iceland photography group

Our final stop was Seljalandsfoss – one of the more popular waterfalls in this part of Iceland. With flowering buttercups below and flying Fulmars above it was a lovely end to our week’s photography. Check out the 2019 Iceland Photography Tour which I will be leading for Explore Nature. For other Nature and Wildlife Photography Tours visit my website at Nature Photography Tours You can watch the video of this 2018 Iceland Tour Here on YouTube

7 night iceland tour

Hopefully this blog inspires you to take your own trip to Iceland. Whilst the country has grown rapidly in tourism, you can easily find places all to yourself without too much effort. Just get off the beaten track… and enjoy the solitude and serenity this country has to offer.

iceland photography tour group

To see more of my landscape and wildlife photography view the galleries at www.paulmiguel.co.uk 

paul miguel photography tours

You can see more photography from Shelley Knight at shelleyknightphotography.co.uk

shelley knight nature photography

Watch a range of Wildlife Photography Videos on my YouTube Channel

paul miguel youtube

Paul

Share