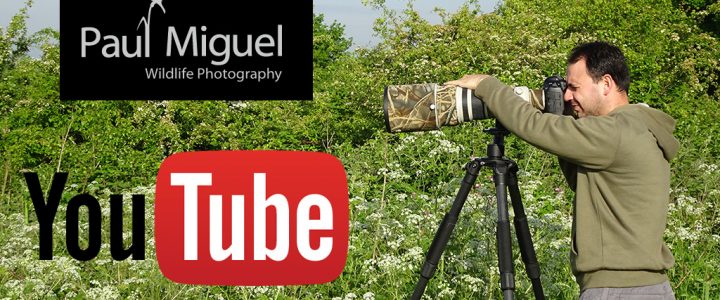
For a long time I didn’t own a ‘big lens’ for my bird photography. I made do with shorter lenses and extenders. Finally the day came when I received my Canon 500mm f4 Mark i lens. I’m still using it to this day, but I’ve learnt a few tips along the way which help me get the most out of it.
Having serious pulling power is great when it comes to wildlife photography, but it can all count for nothing if you don’t use your lens effectively. Big lenses, by which I would consider anything from 400mm and greater, tend to be heavy pieces of kit and need a certain level of technique to manage them effectively.
Hand-holding
You may not want to hand-hold, certainly not for extended periods of time, but there are situations where this is preferable. For birds in flight, I much prefer to hand-hold as I just feel more comfortable with my freedom and range of movement. To hand-hold with a big lens try to hold the camera and lens sideways, rather than point it in front. Place your hand under the lens and keep your elbow close to your body. Most people can only do this for short periods of time – when waiting for action you could keep the lens on the ground by resting it upside down on the lens hood. Alternatively I like to carry a beanbag then rest the camera on here whilst I’m waiting, knowing it’s more protected.
Tripods and Heads
Without doubt the best way to support a long lens is with a tripod. Carbon fibre is a great option as it is strong but relatively light. Not surprisingly, this also makes them expensive. To mount the lens I would advise two options – either a very solid ball head, or a gimbal head. Personally I think the gimbal head is a wonderful creation for big lenses. They provide a really solid base at the lens foot and the freedom of movement is perfect for following and recomposing shots. I use a Movo GH 700 Gimbal Head When attaching the lens foot to the gimbal head, slide it forward and back to find the centre of gravity – you want the lens to stay balanced without it being locked in place; this will help with balance. Once you have it in the correct place make sure it’s tightened up in place. You can then use the two tension knobs to get the desired amount of movement – both up and down (tilting) and left and right (panning). For following birds in flight you will want to slacken it off enough to allow fast tracking of your subject, whilst for more static subjects tightening up the knobs will aid in stability and reduce camera shake, but still allow enough movement to recompose.
When photographing static subjects and particularly with lower shutter speeds you should try to reduce vibration. Long lenses will magnify even the smallest amount of movement, potentially causing blurred images so it’s worth a bit of extra technique. Drape your non-shutter hand lightly over the lens barrel – around half way down then lightly push your eye into the viewfinder. This combination will help brace the lens and can definitely reduce camera shake. You can see me using these techniques with my 500mm, photographing birds in this YouTube video Using image stabilisation is another option too but with older lenses it’s best to have this switched off anyway if on a tripod.
Beanbags and Other Support
In my opinion the best way you can keep a long lens stable is by using a beanbag. This is ideal when shooting on the ground or on a car roof for example. Make sure that the part of the lens near the camera body is snugly into the beanbag. Use your non-shutter hand to push down slightly at this point. You can also pull down slightly on the shutter. With good technique you can achieve sharp images down to as slow as 1/15 of a second. Another option is to use a beanbag on top of a tripod. Take the tripod head off and put the beanbag on top, balanced evenly; then use the same technique. I’ve used this method successfully when photographing wild owls in Serbia – see the YouTube video and achieved sharp results at very low shutter speeds. Think out of the box too: you always have your knees with you so why not use one as a support when caught short?
A long lens is ideal for nature photography but you can’t be sure of sharp images without learning a little technique. Employ these tips and you’ll greatly increase your chances of pin sharp images!
Paul Miguel is professional Nature Photographer in Leeds, England. He runs a range of Wildlife Photography Workshops in the UK and Photography Tours Abroad


